


There's something truly rewarding about completing a "Do-It-Yourself" project. When it comes to outdoor DIY projects, the opportunities are endless with things like landscaping, a new deck, a cool patio, planting trees and flowers, and everything else in between!
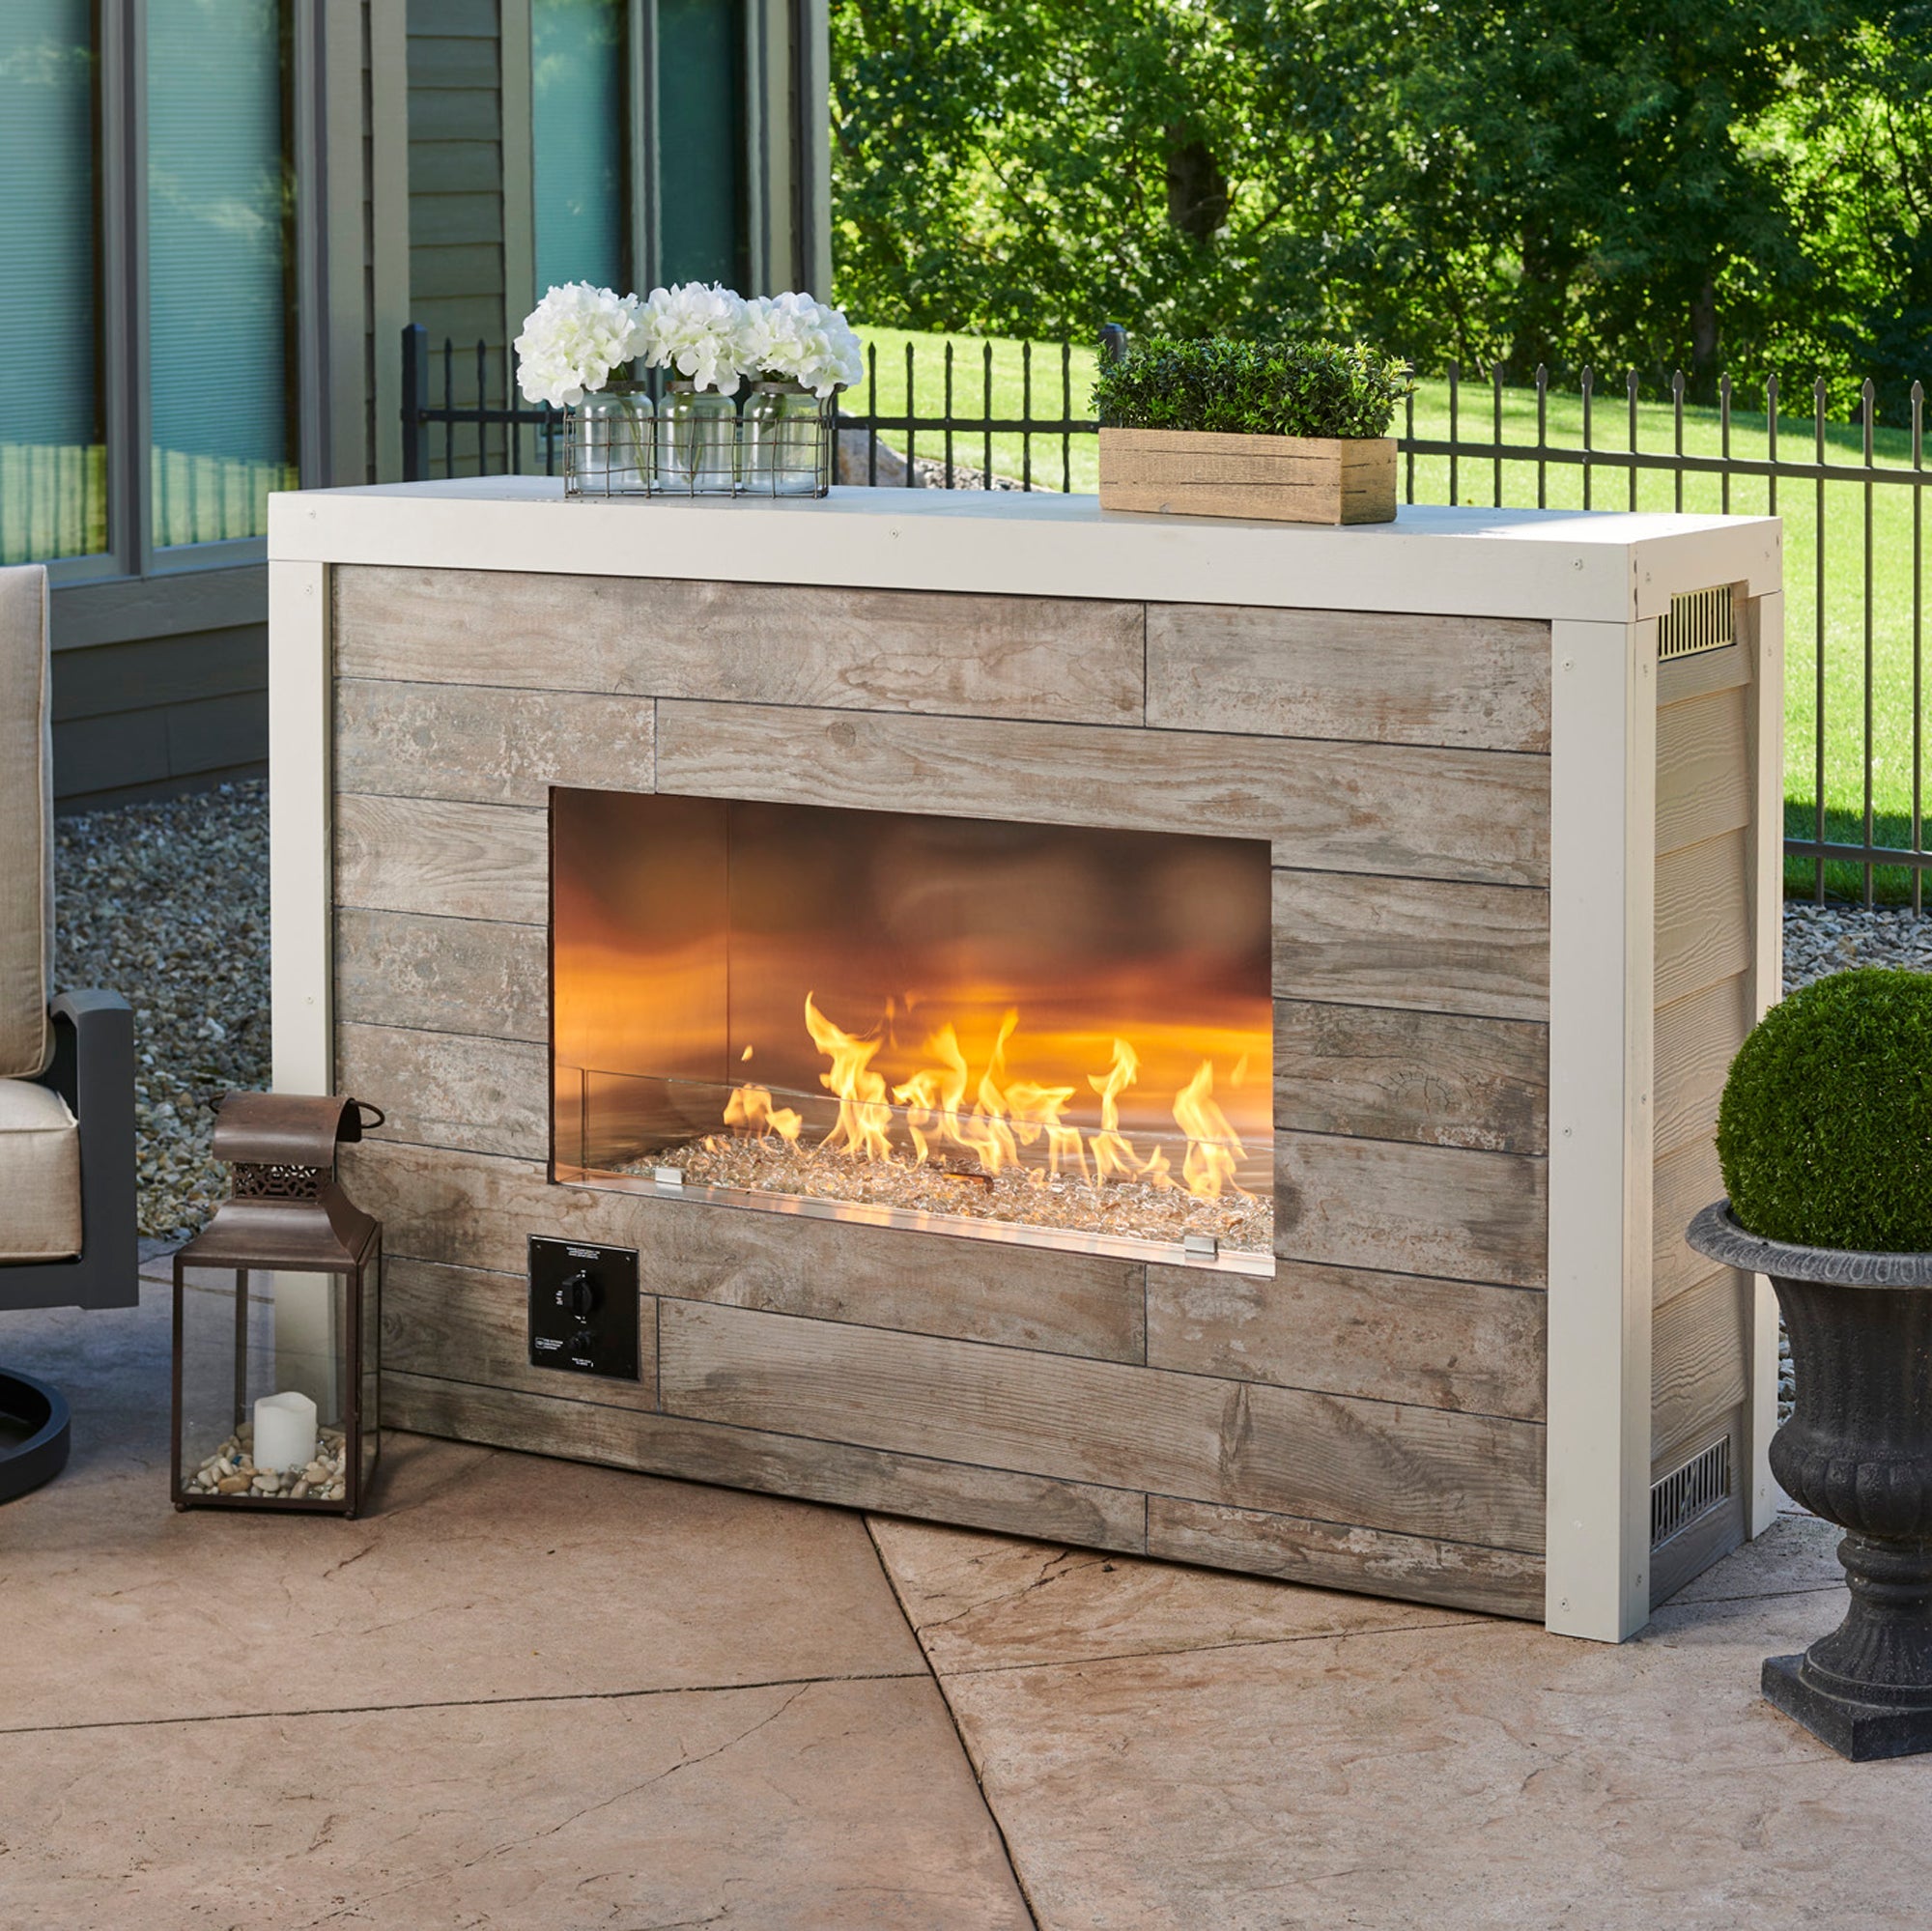
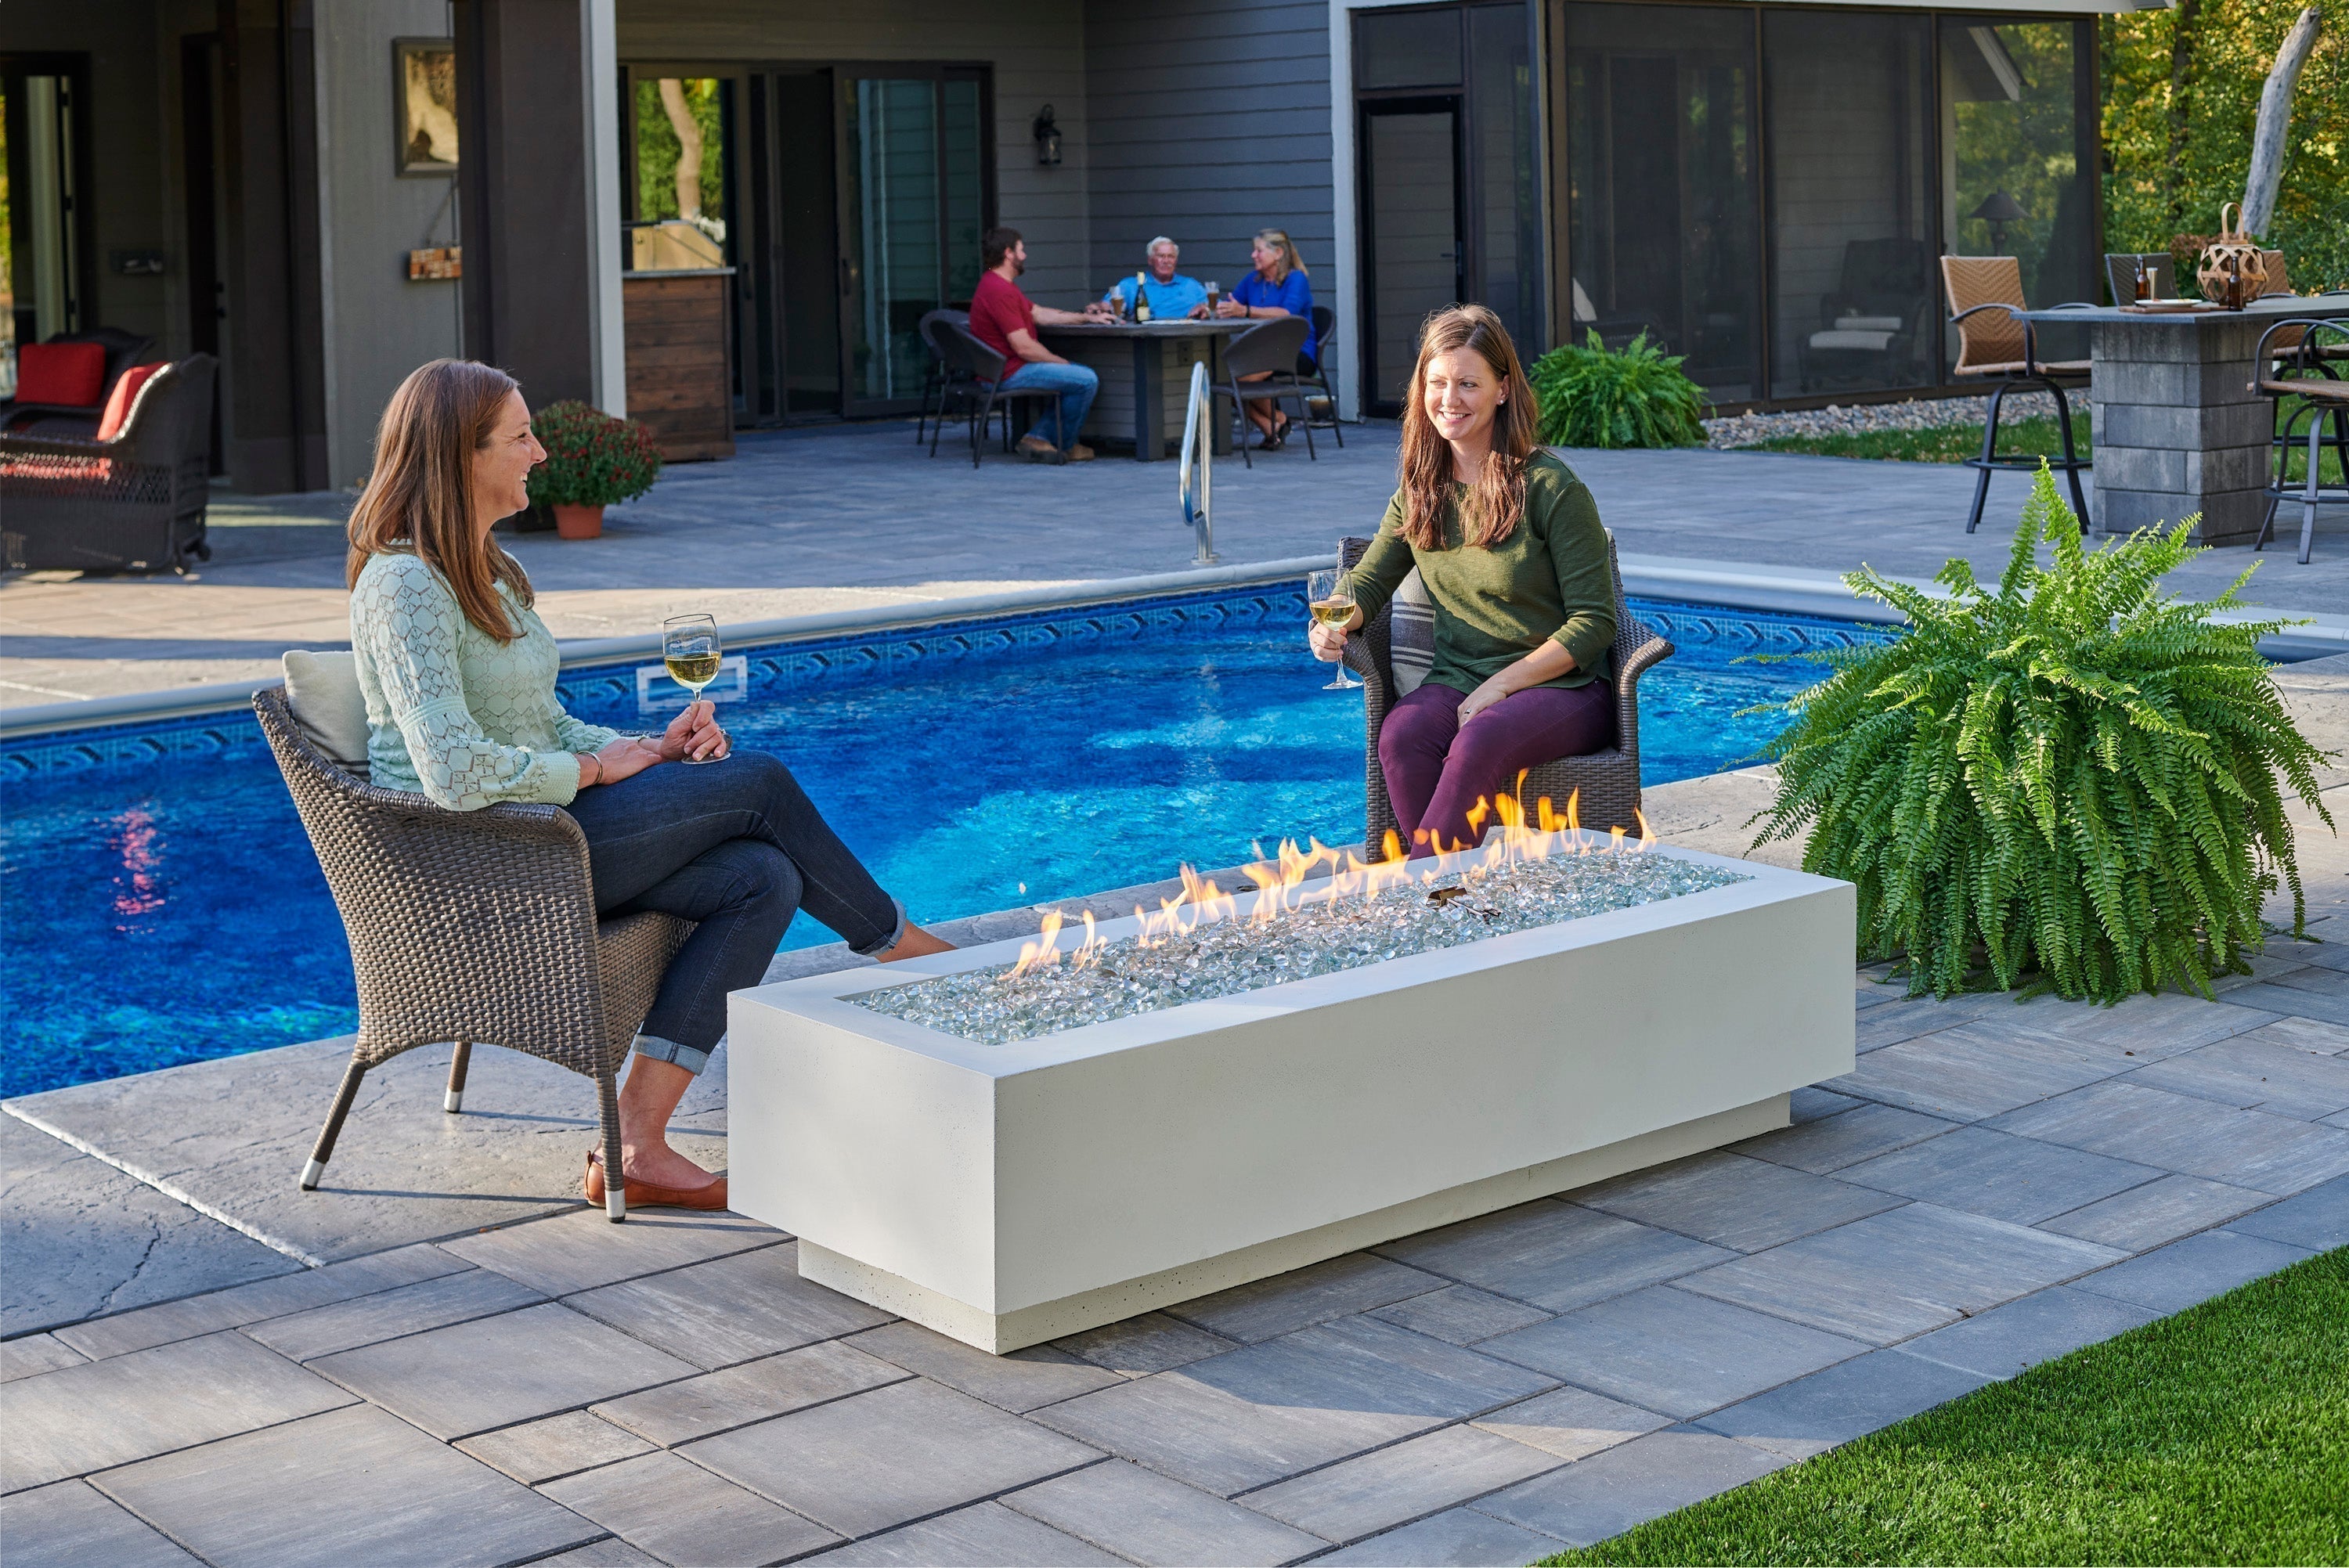
Another popular project is constructing a firepit. We've put together this 10-step guide to creating a gas firepit that's perfect in any backyard!
Time: 3 hours
Materials List
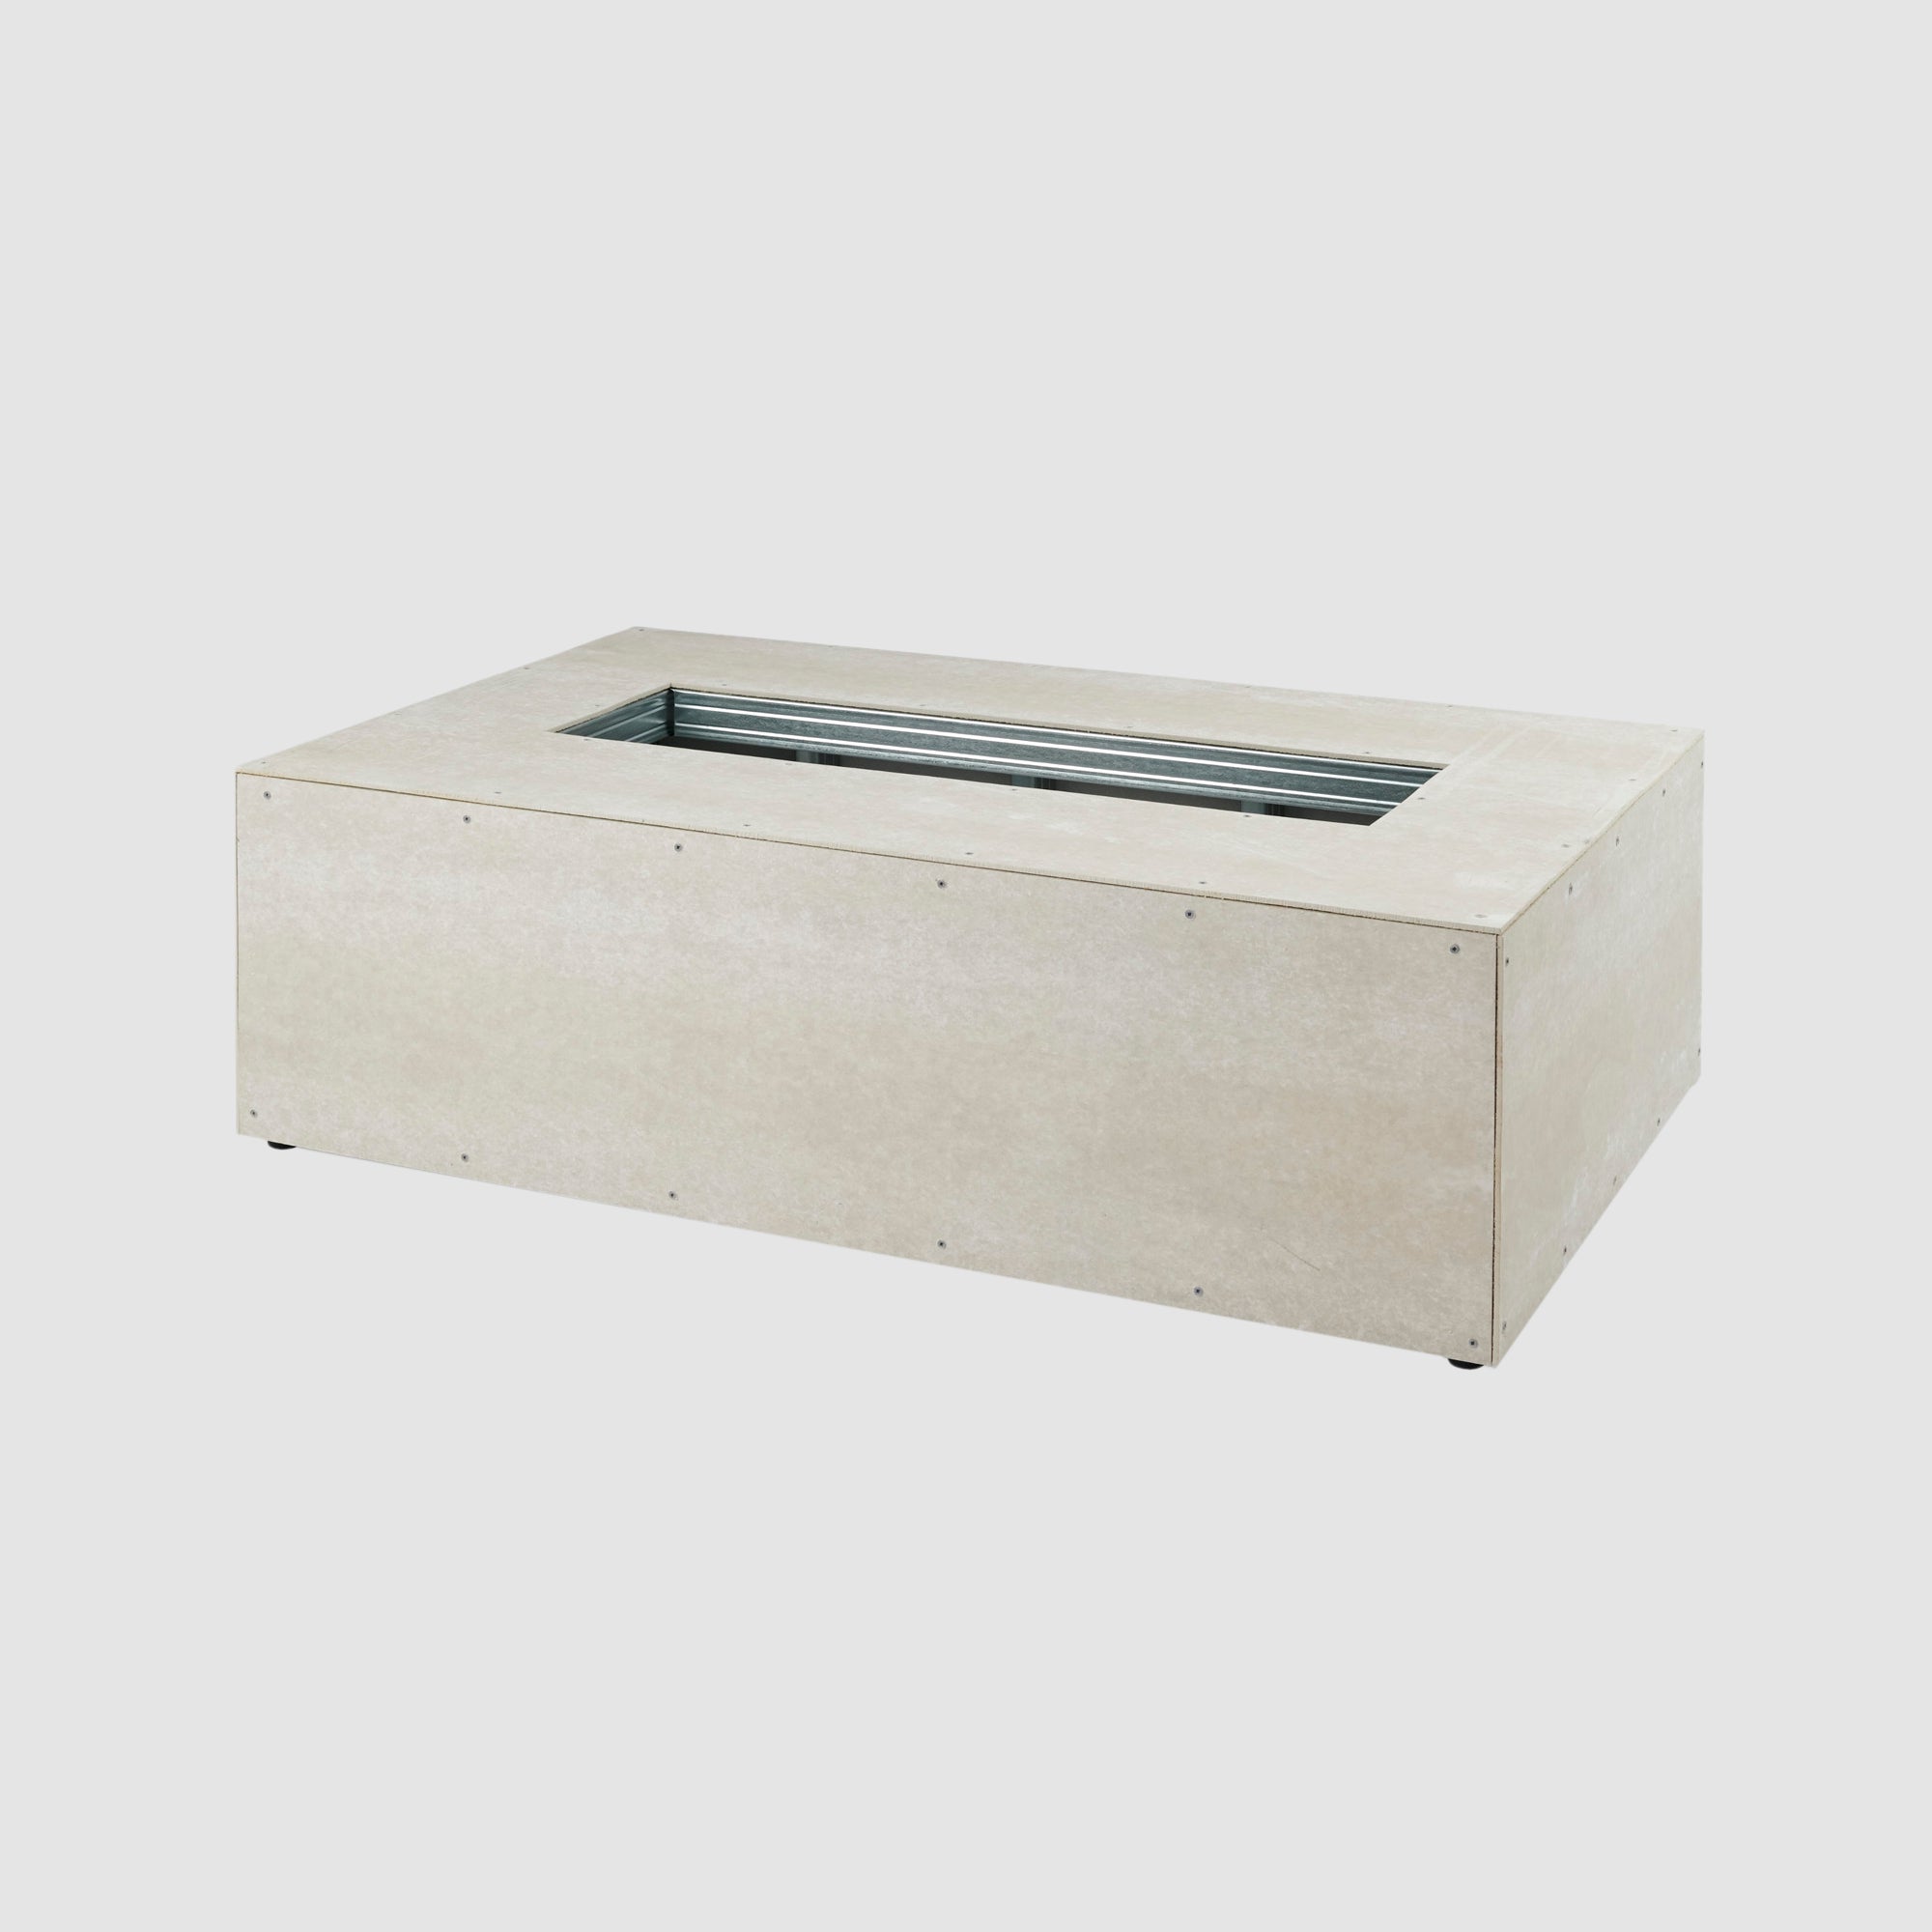
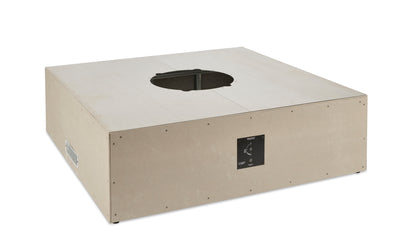
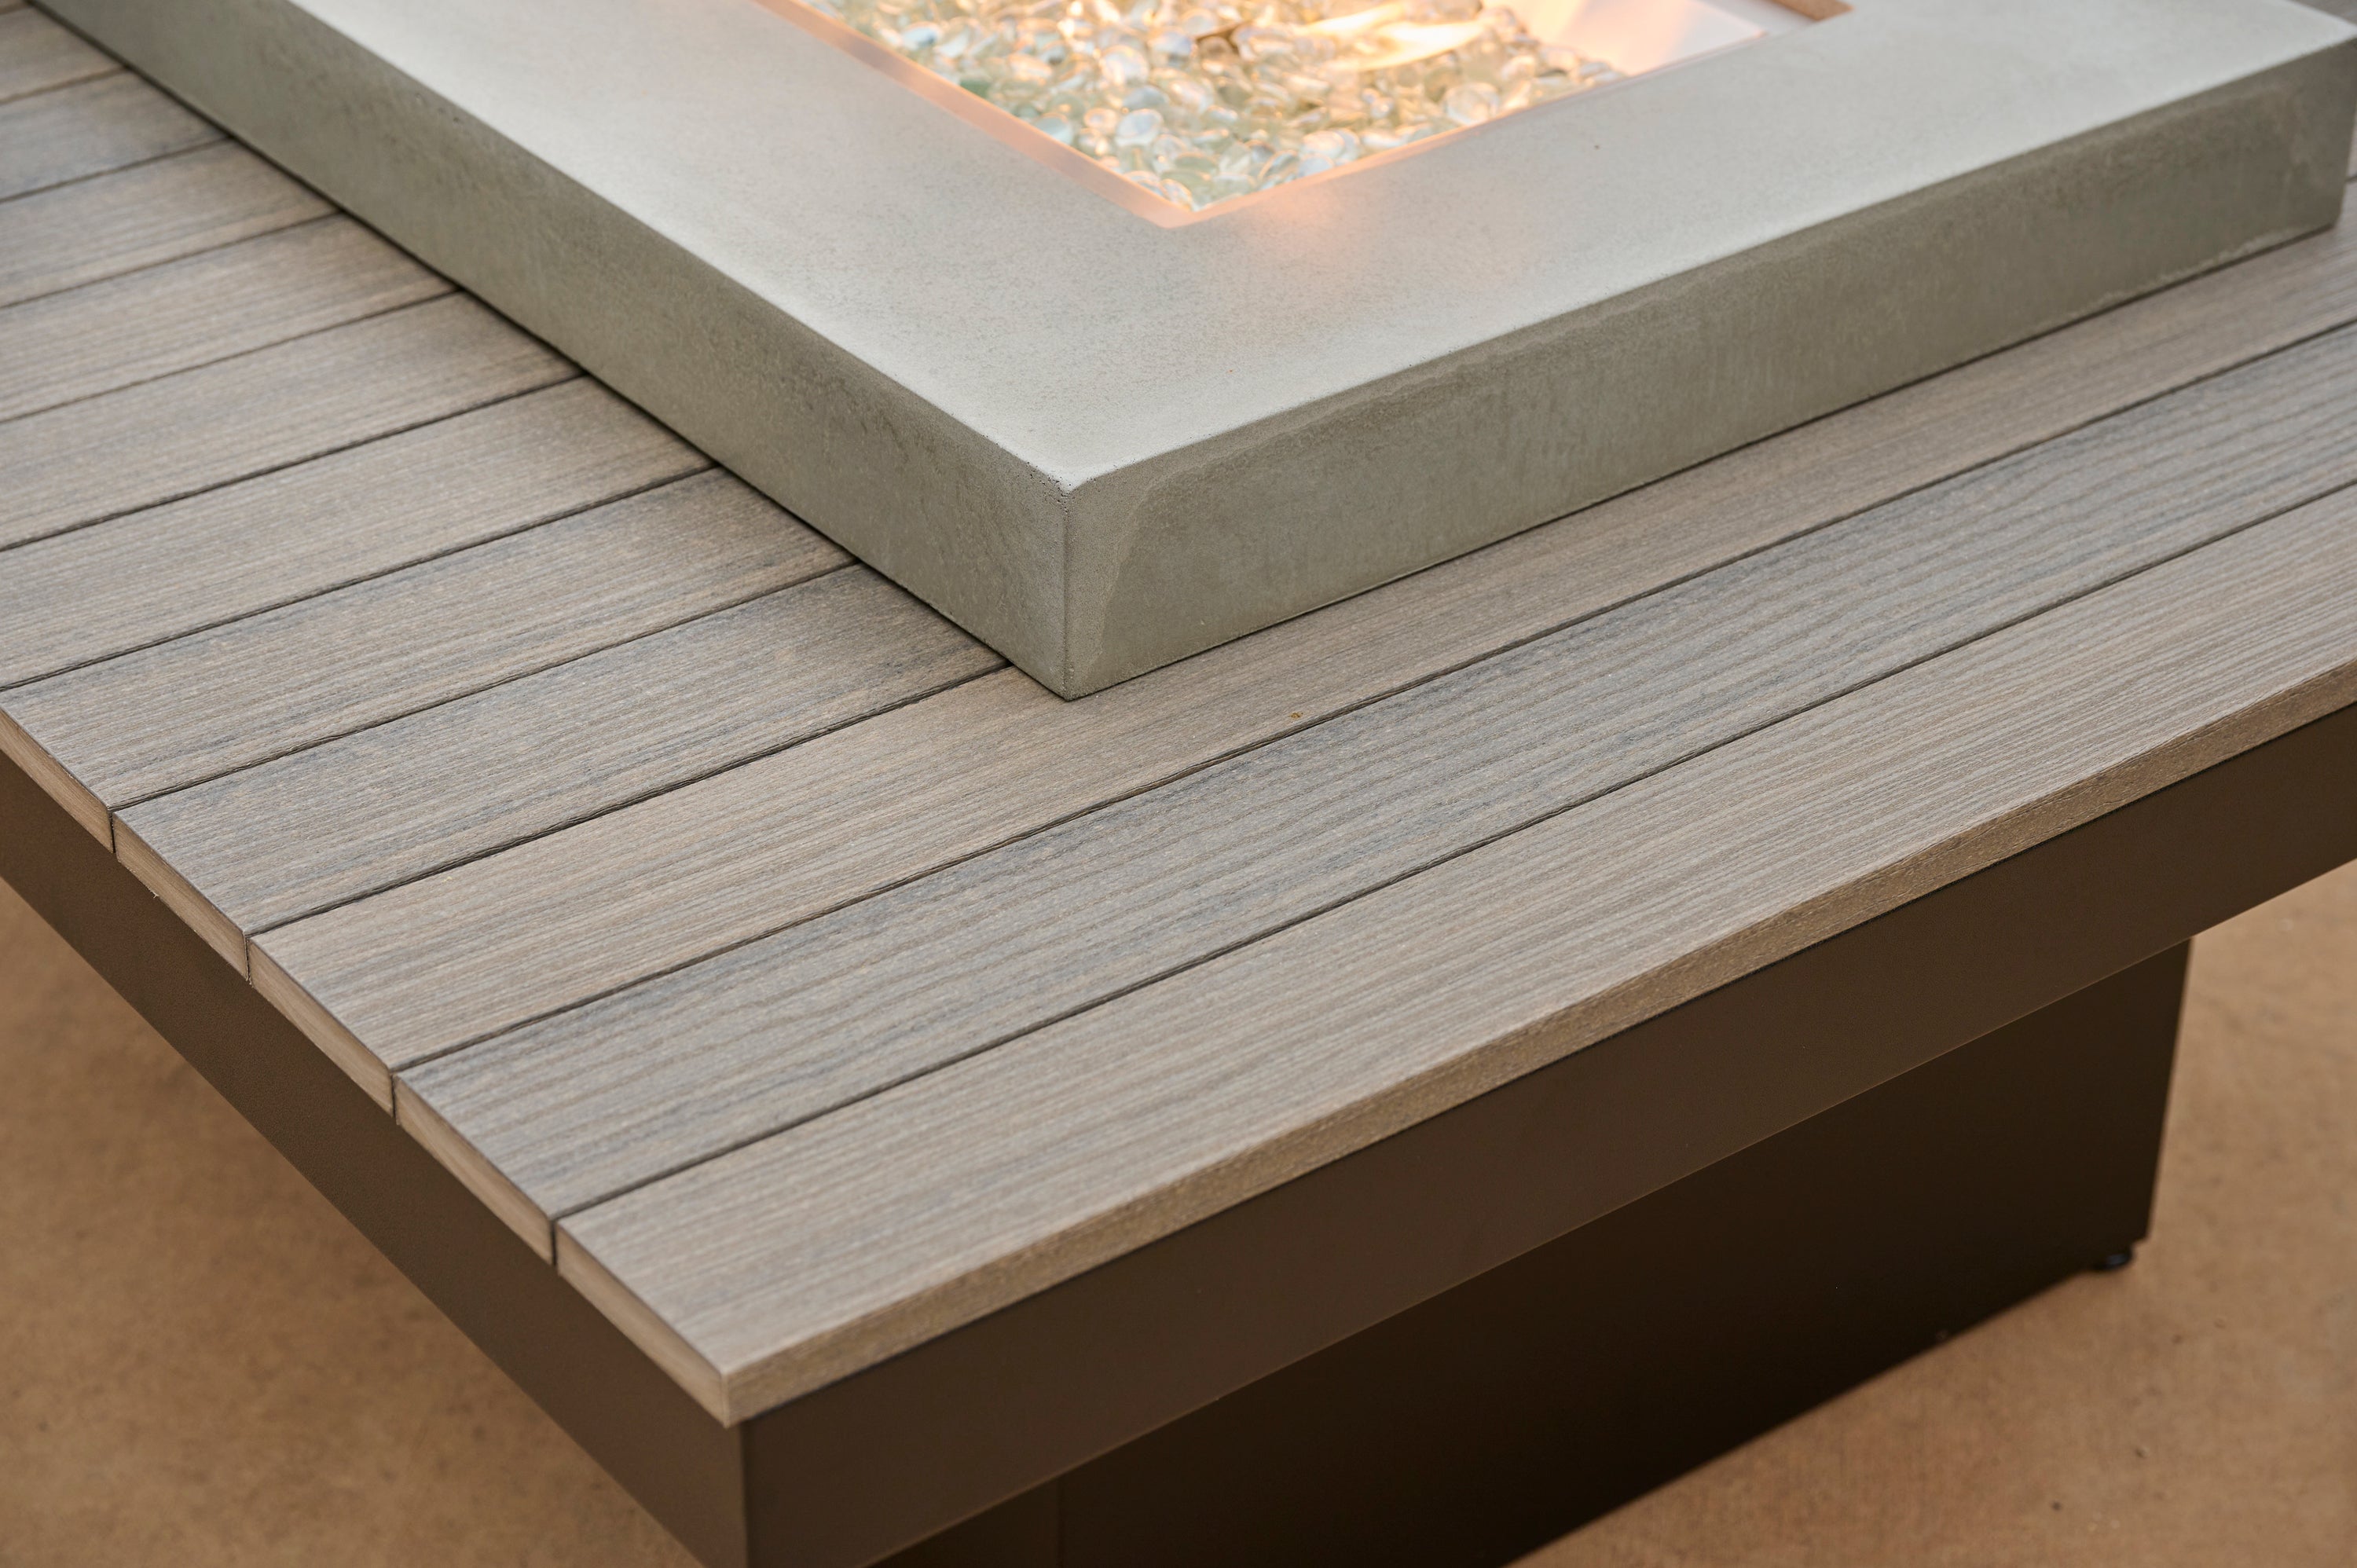
- Concrete Hardscape Block
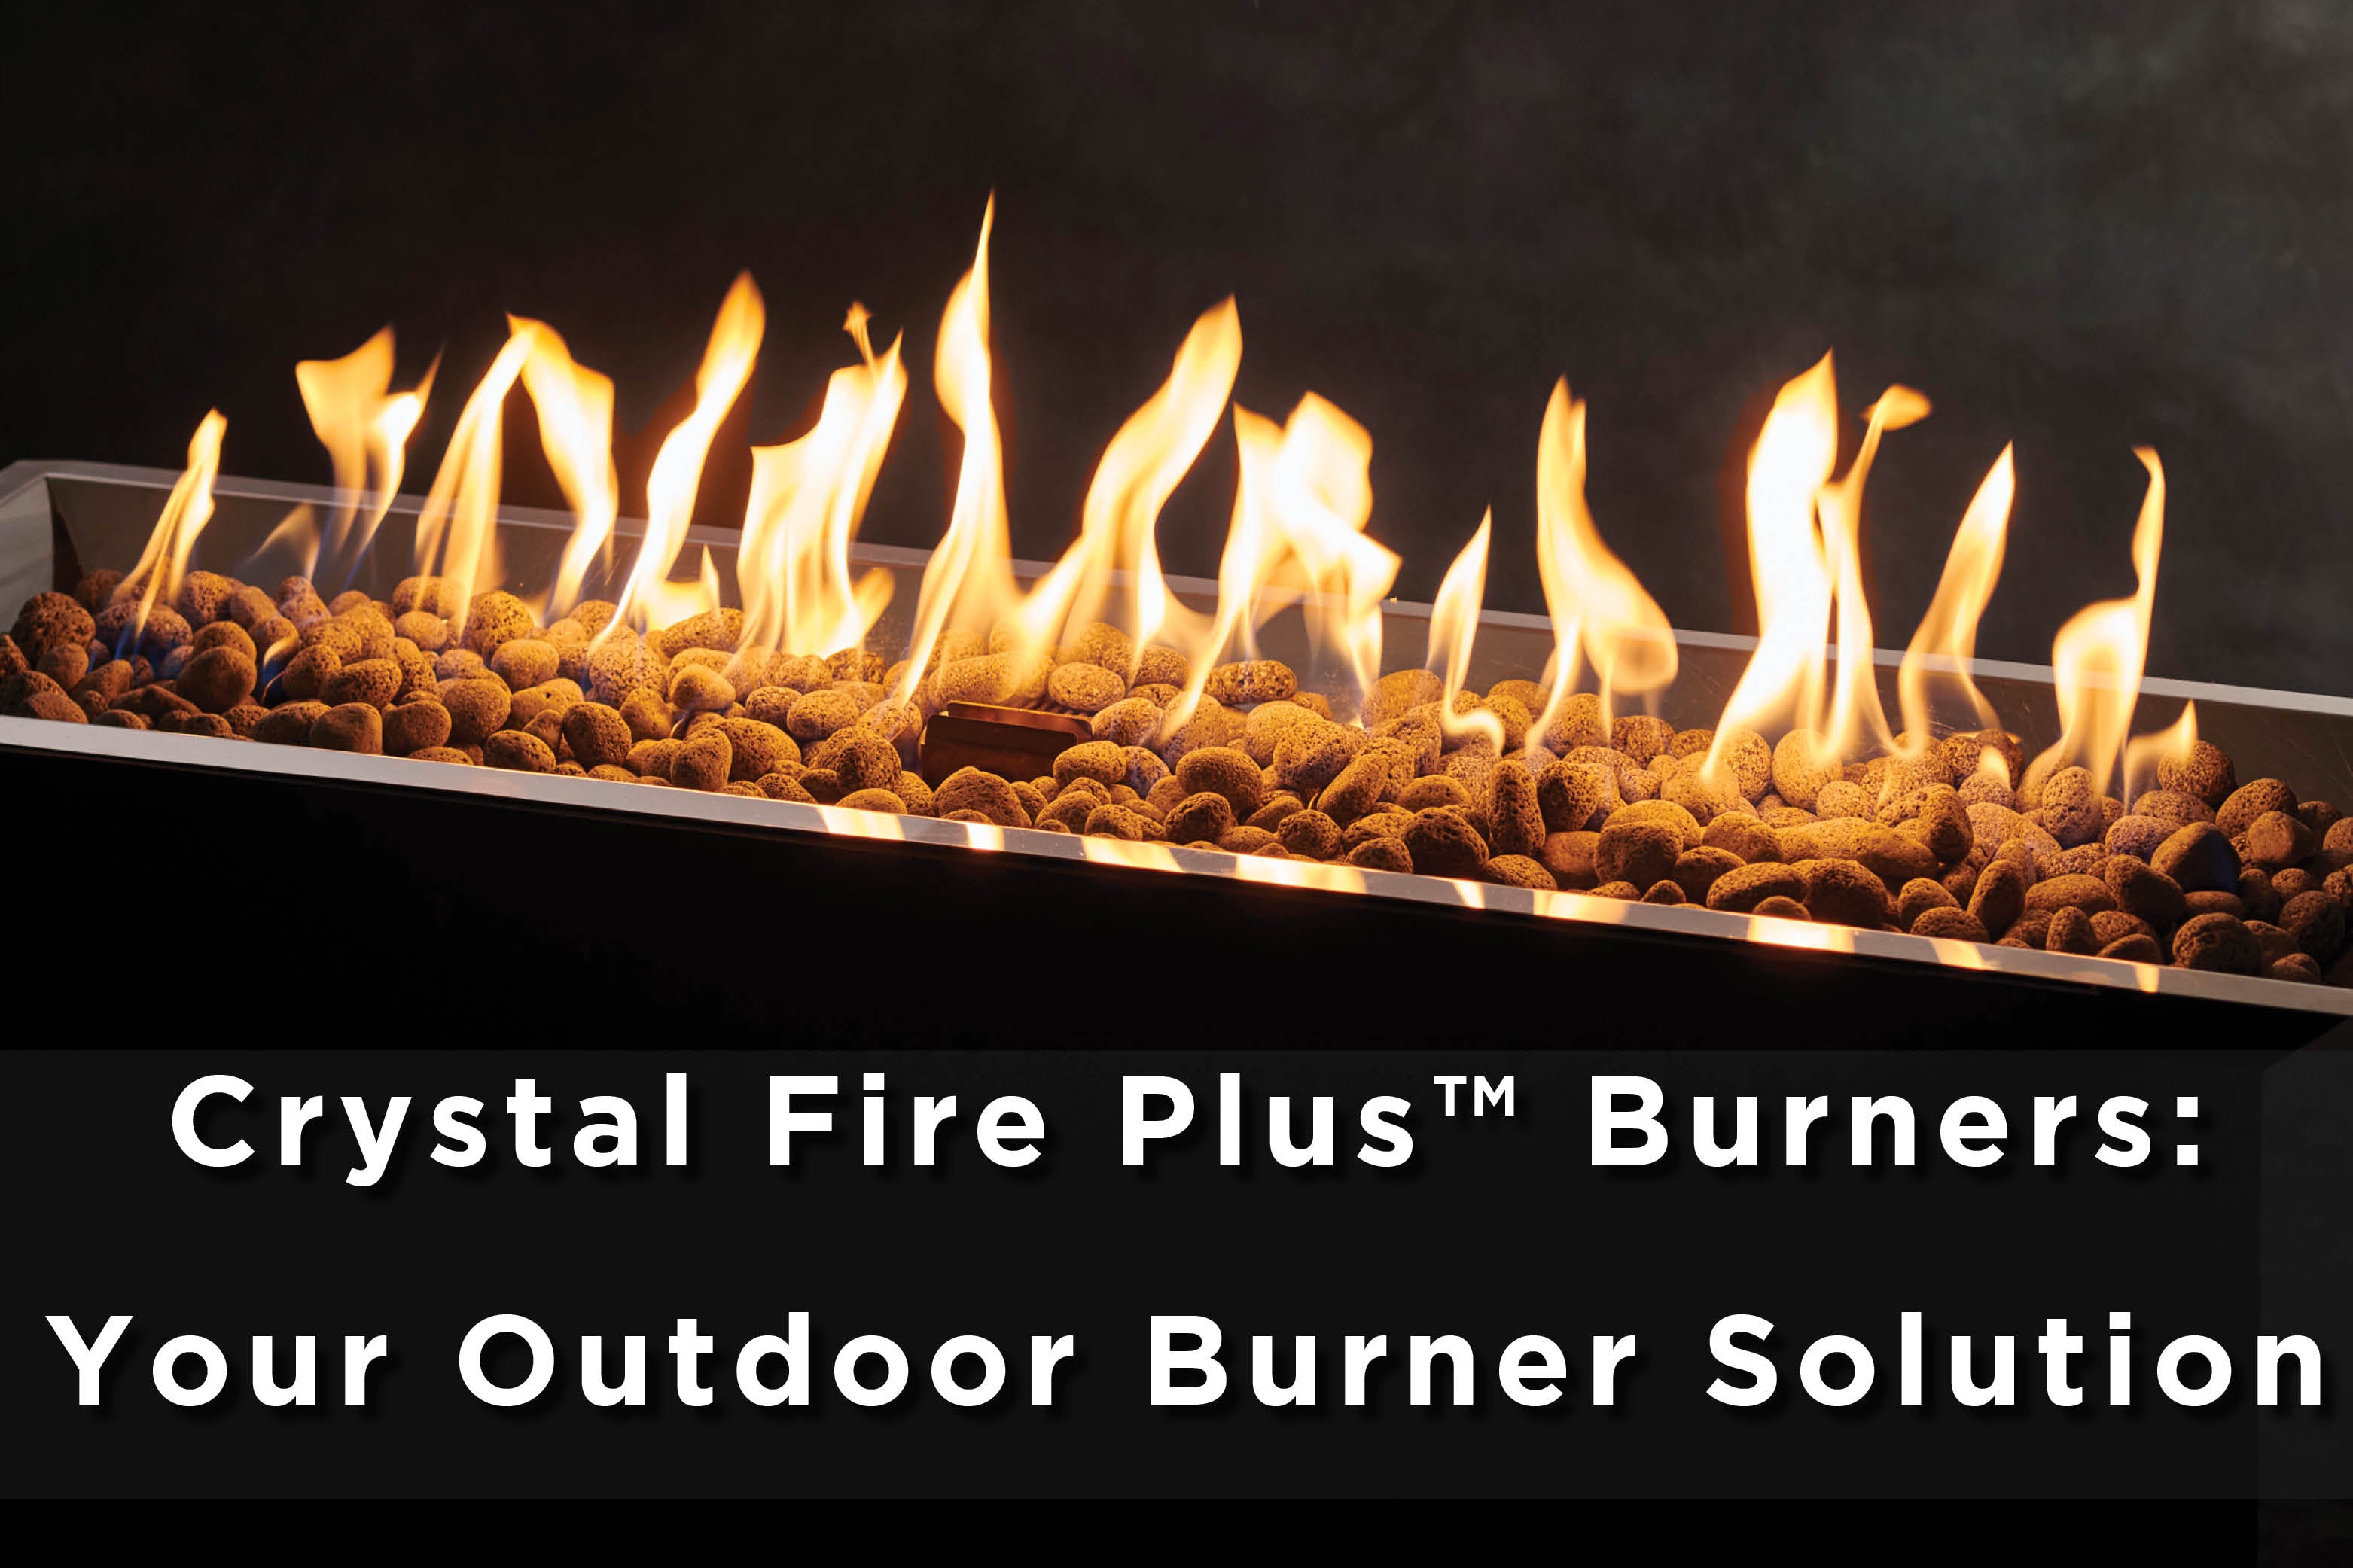
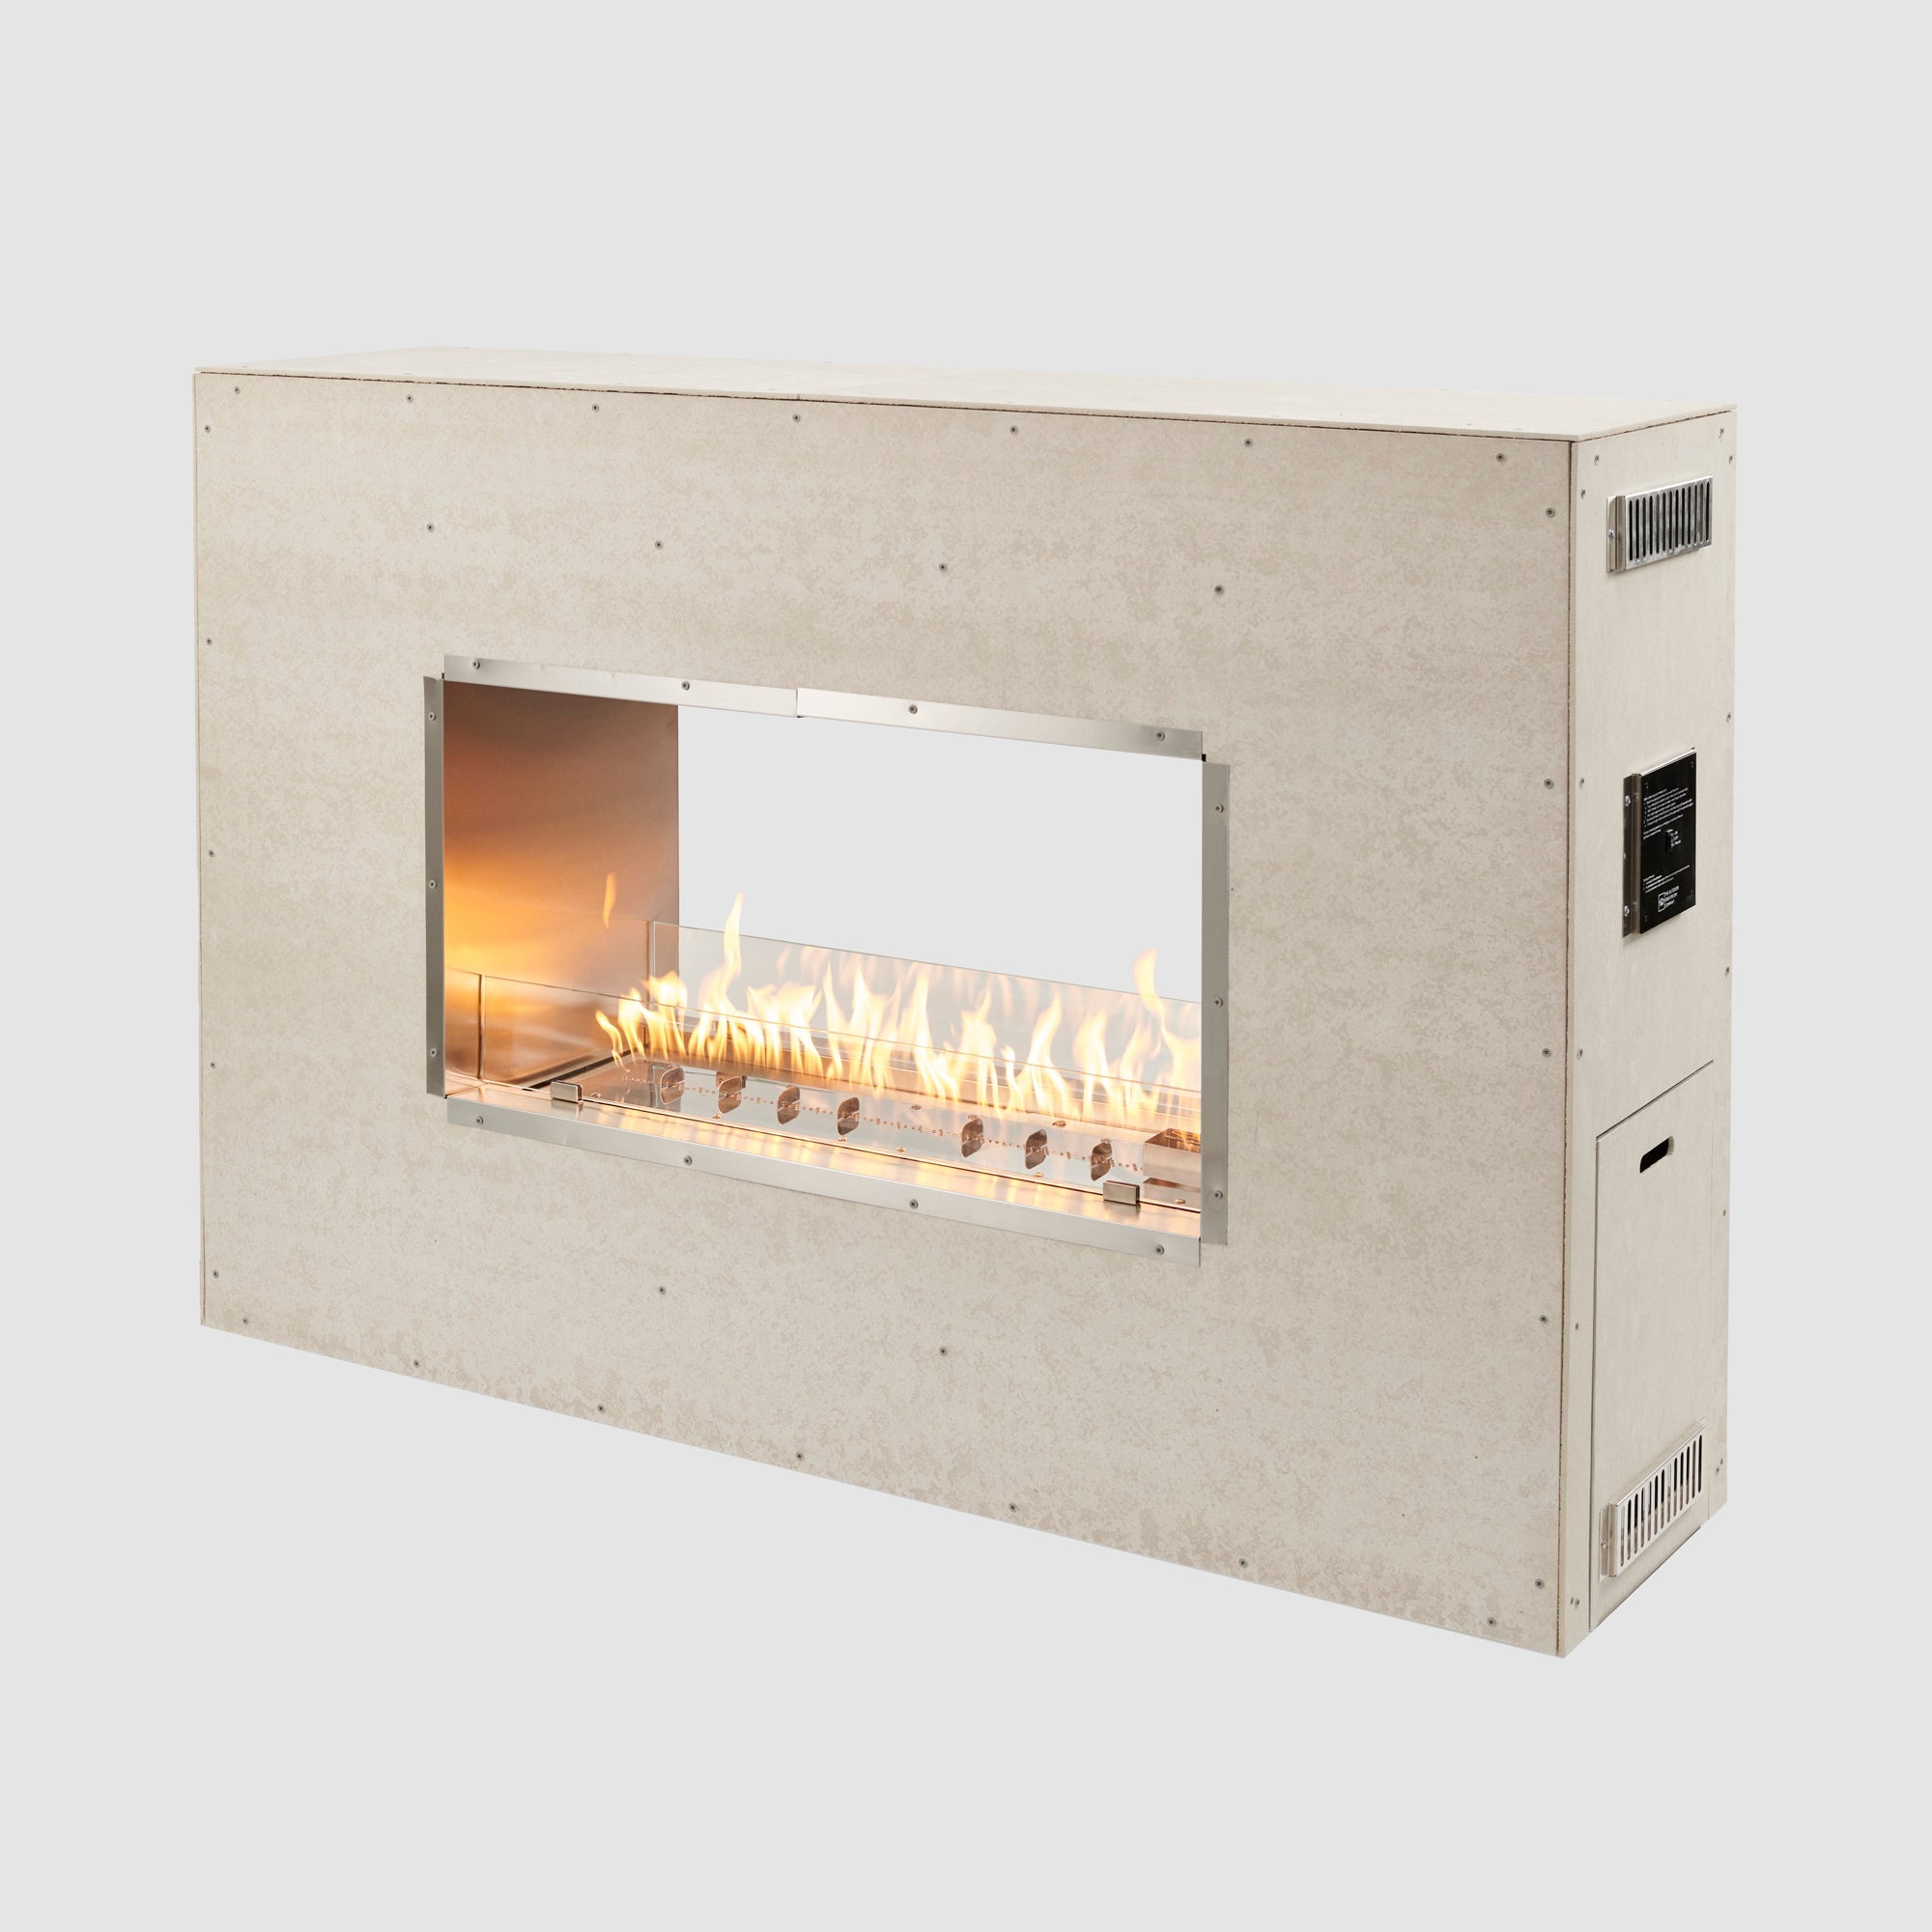
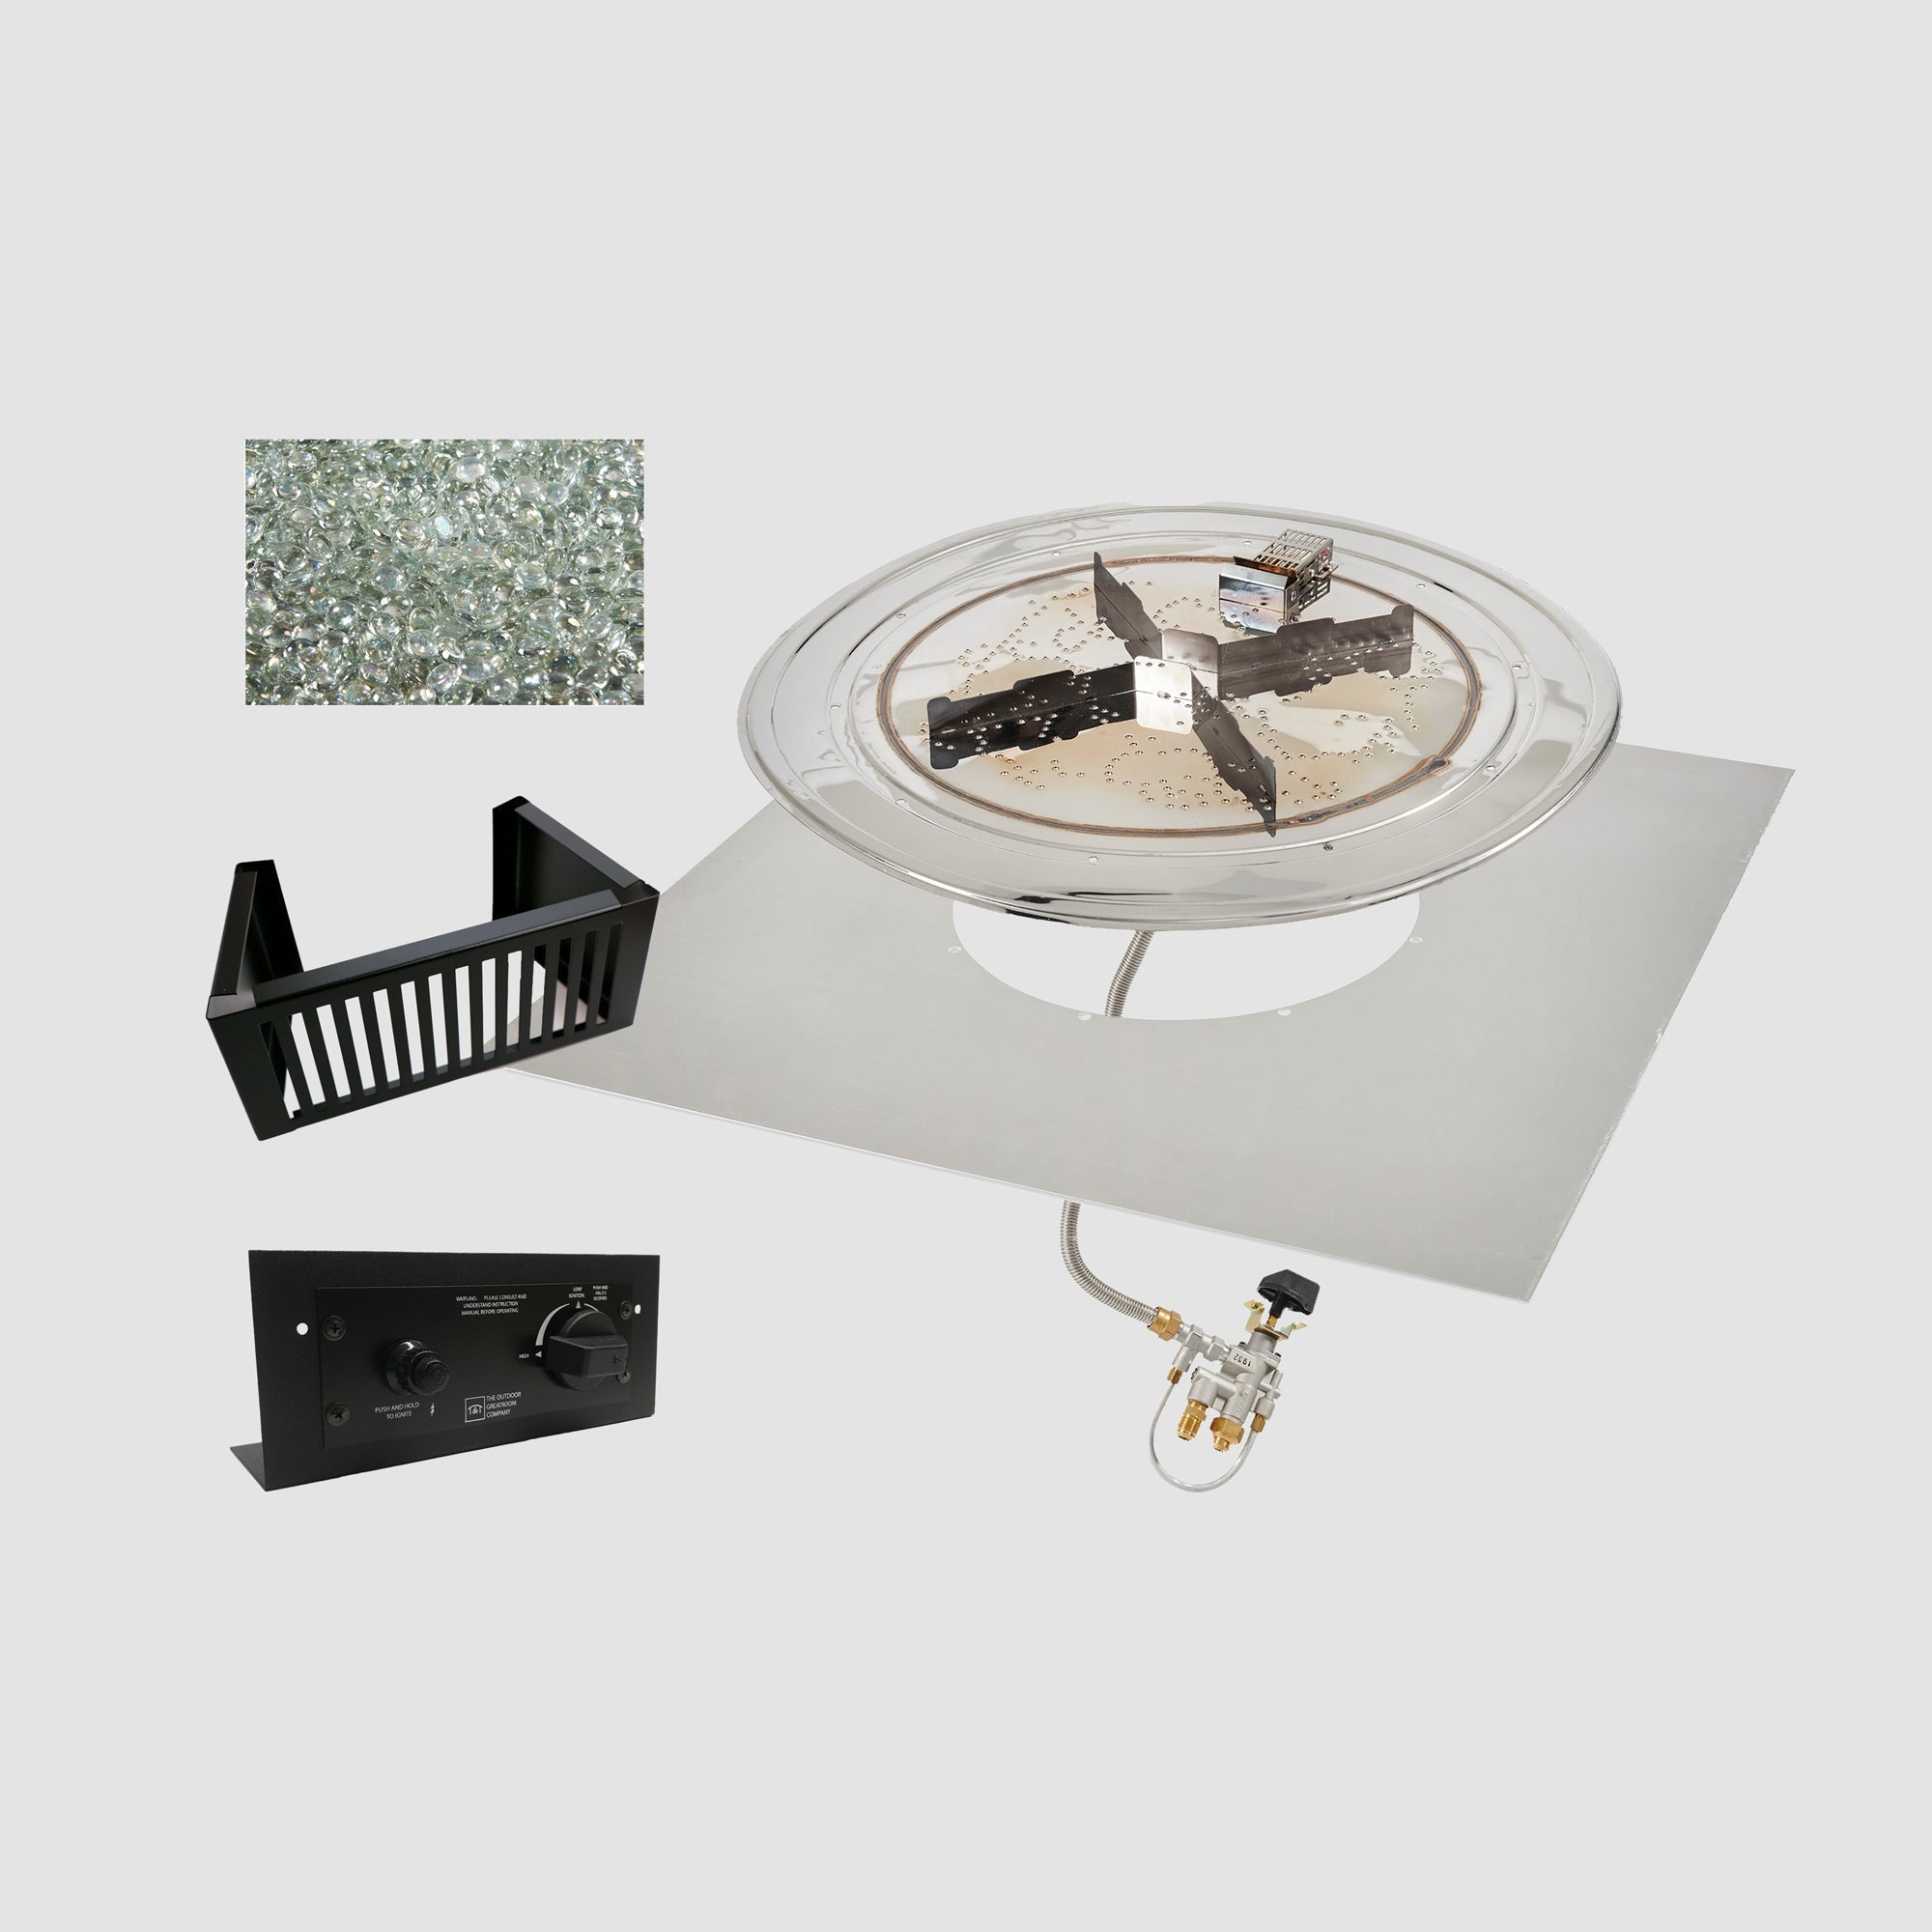
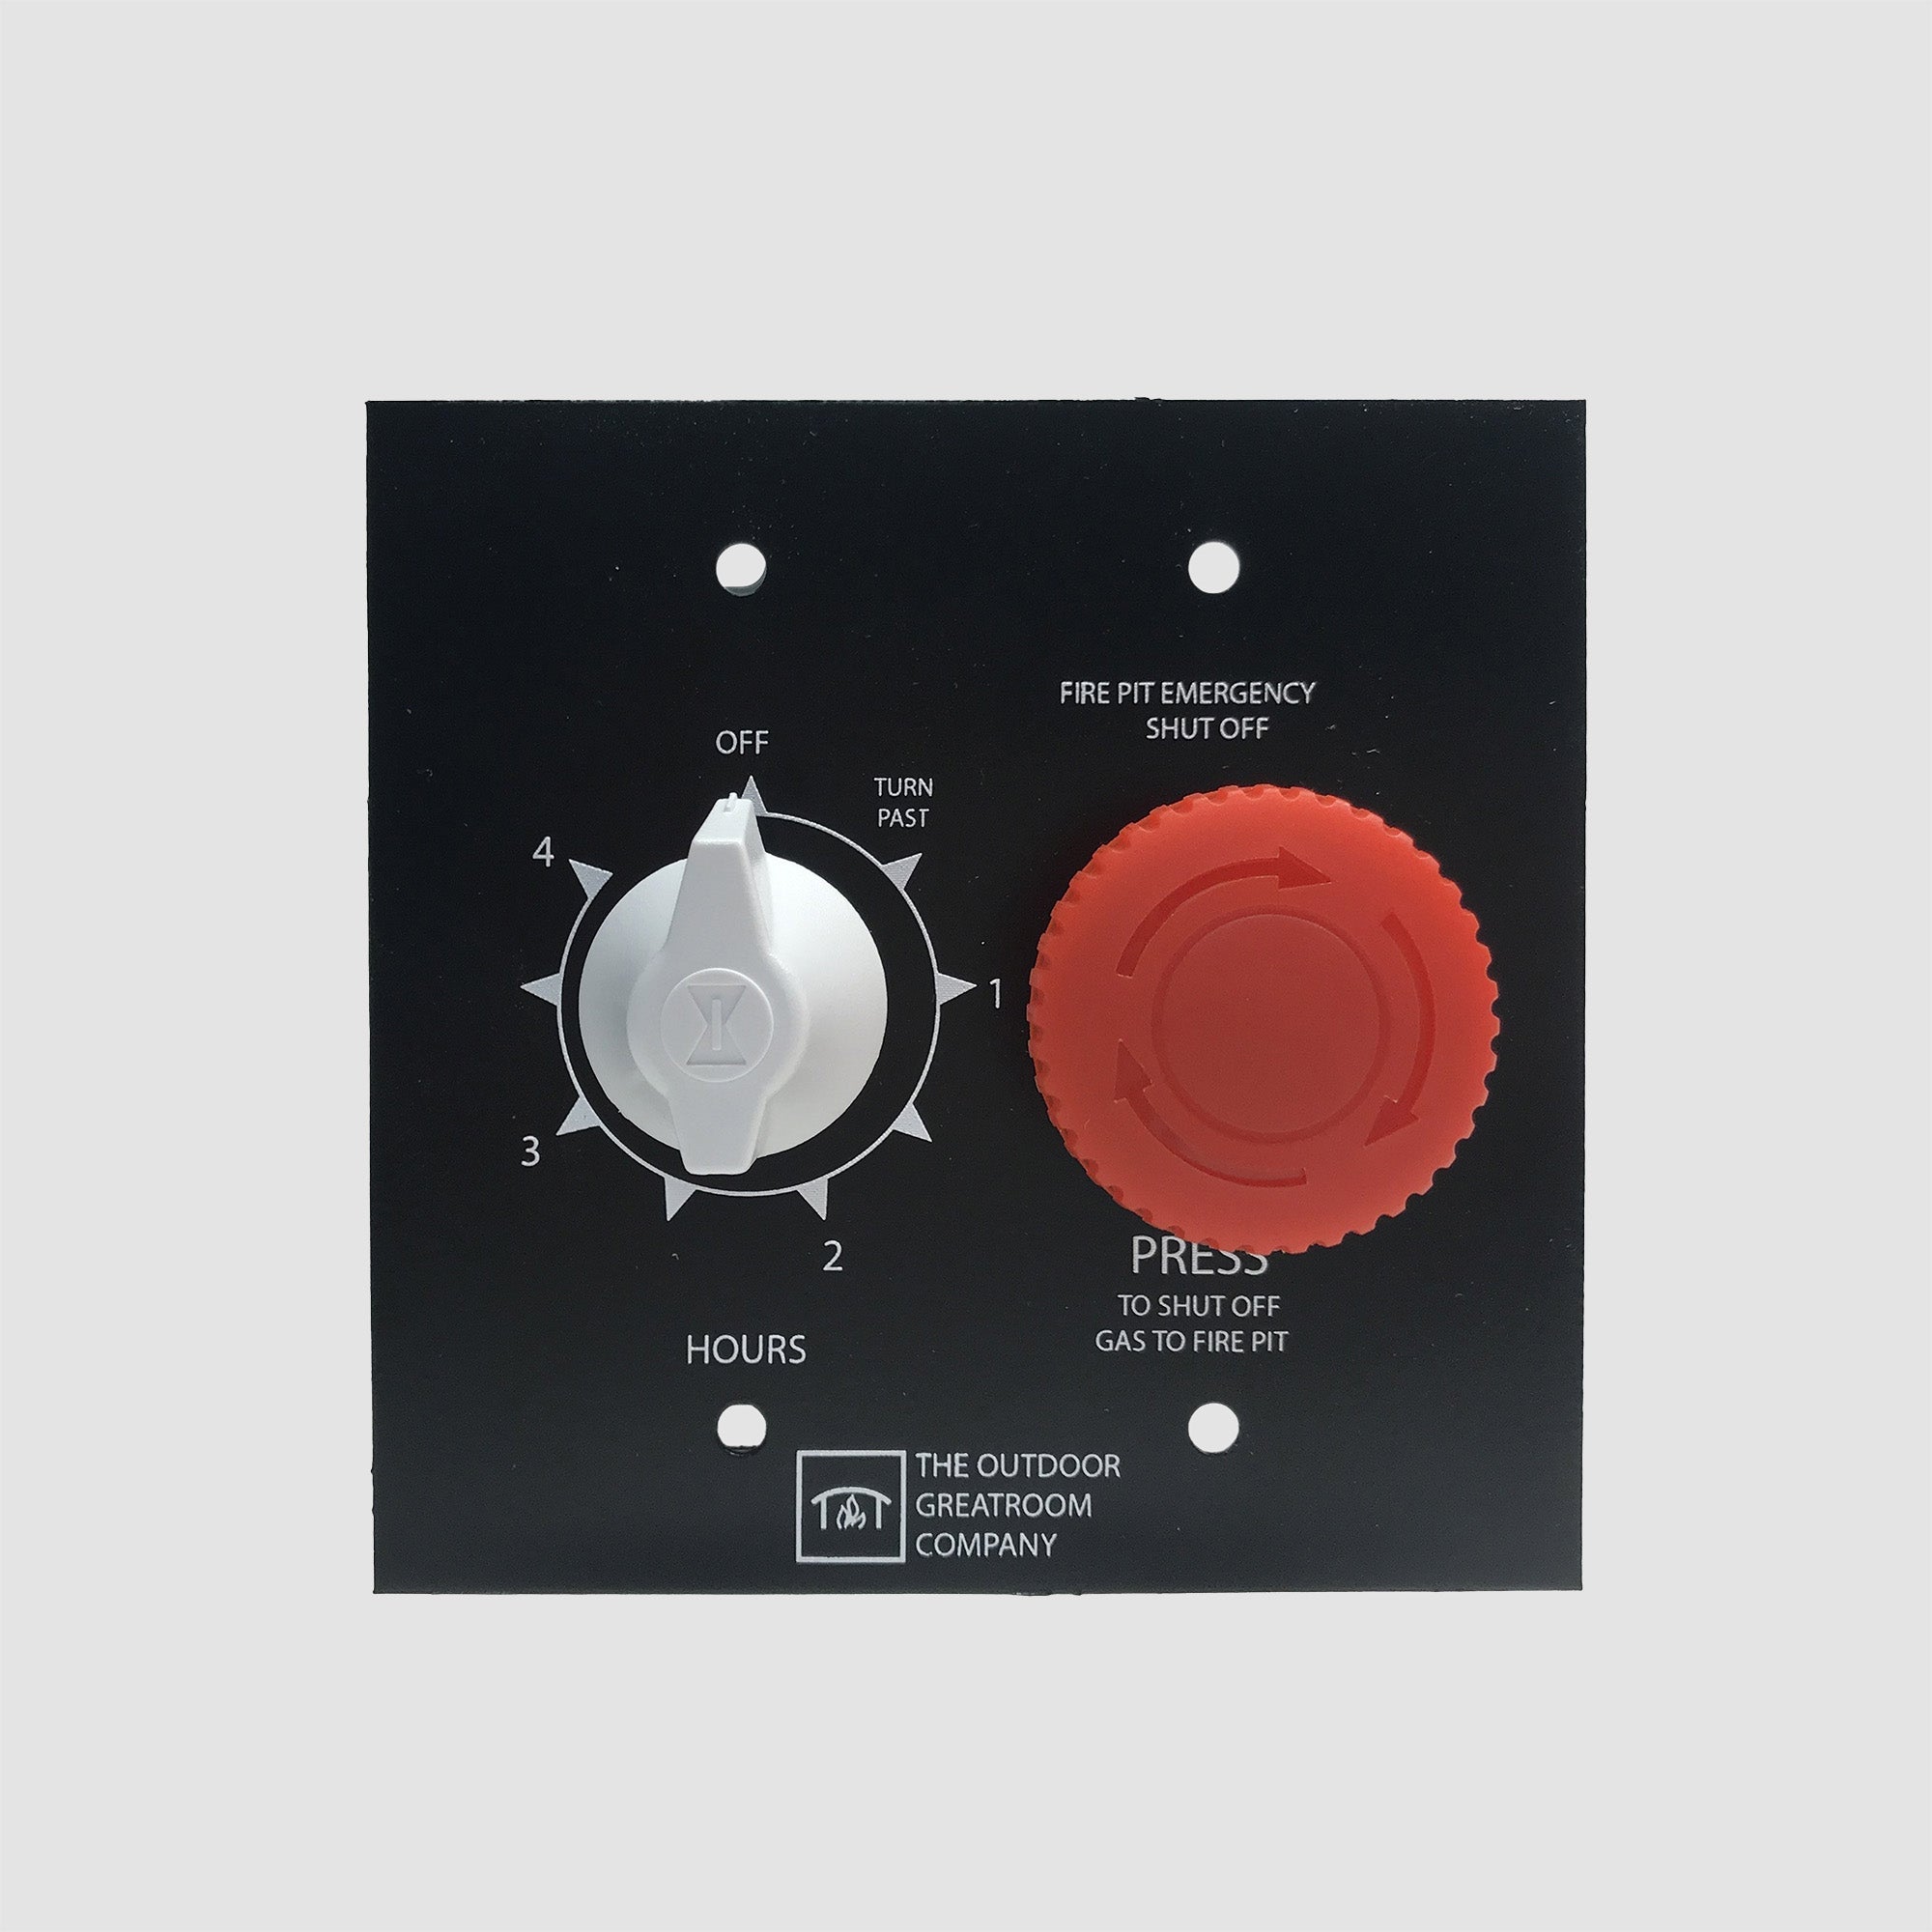
- DIY Crystal Fire Plus Gas Burner Kit with Control Panel
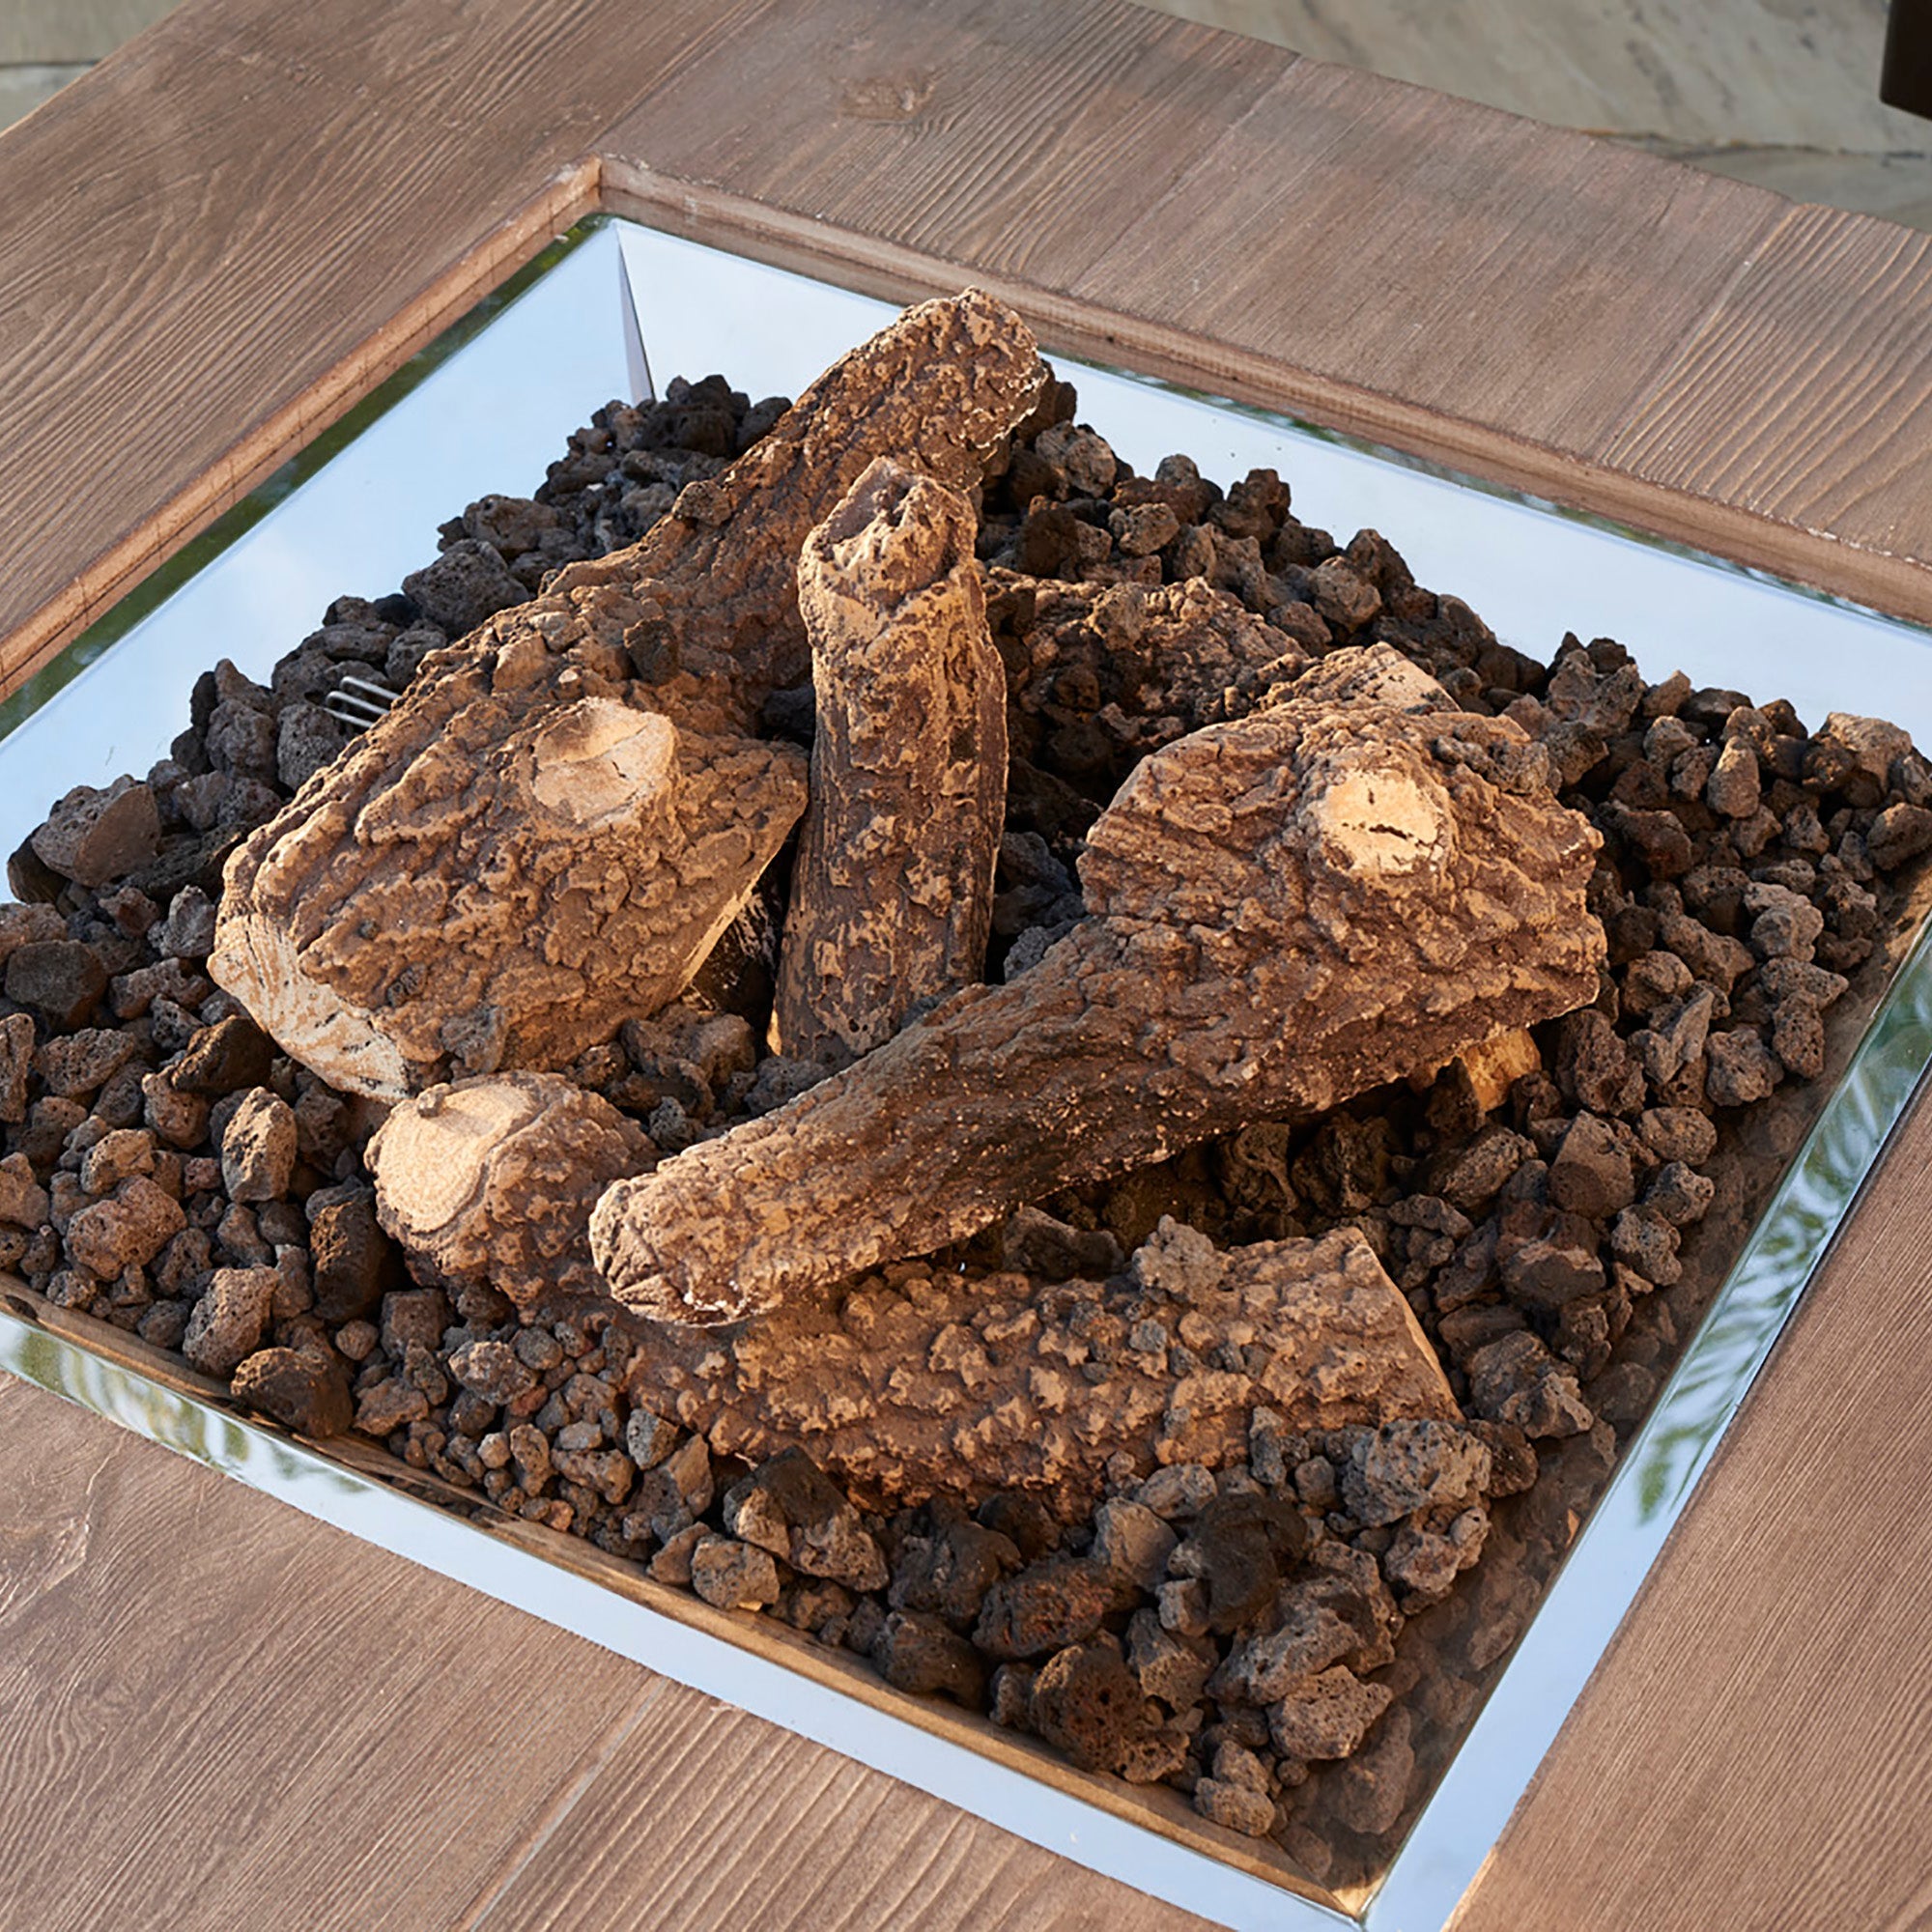
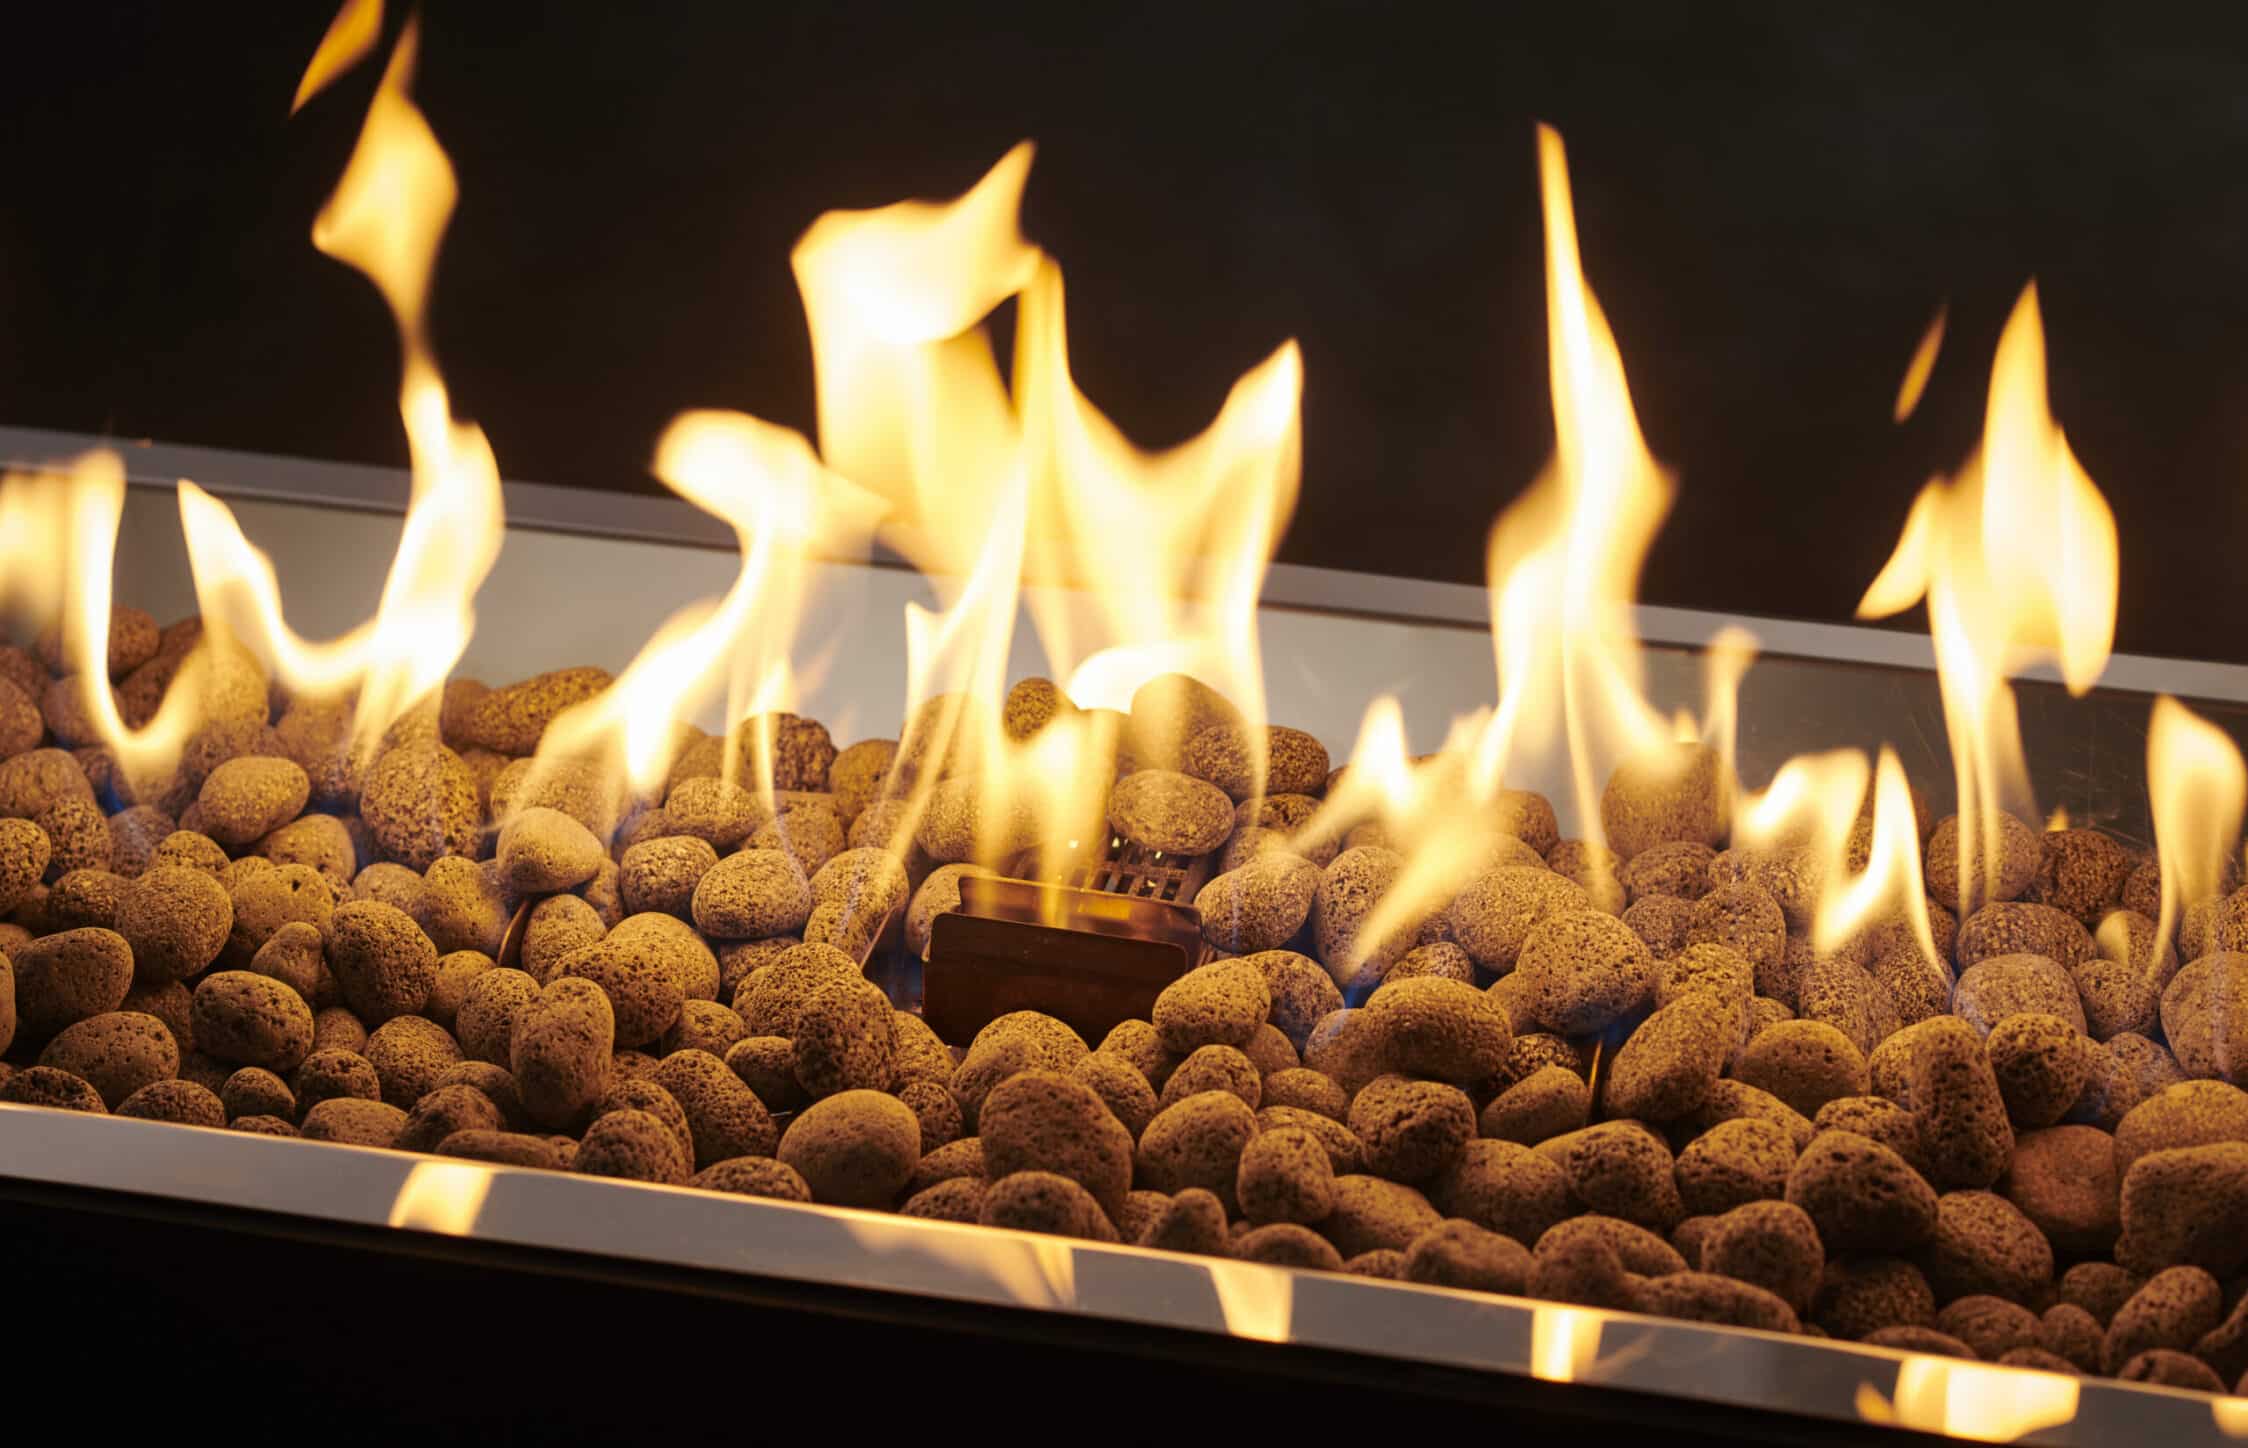
- Lava Rock or other media rated for use with gas fire pits (0.5 cubic bag or approximately 20 lbs recommended)
- 1 Vent Block
- Exterior-grade concrete adhesive
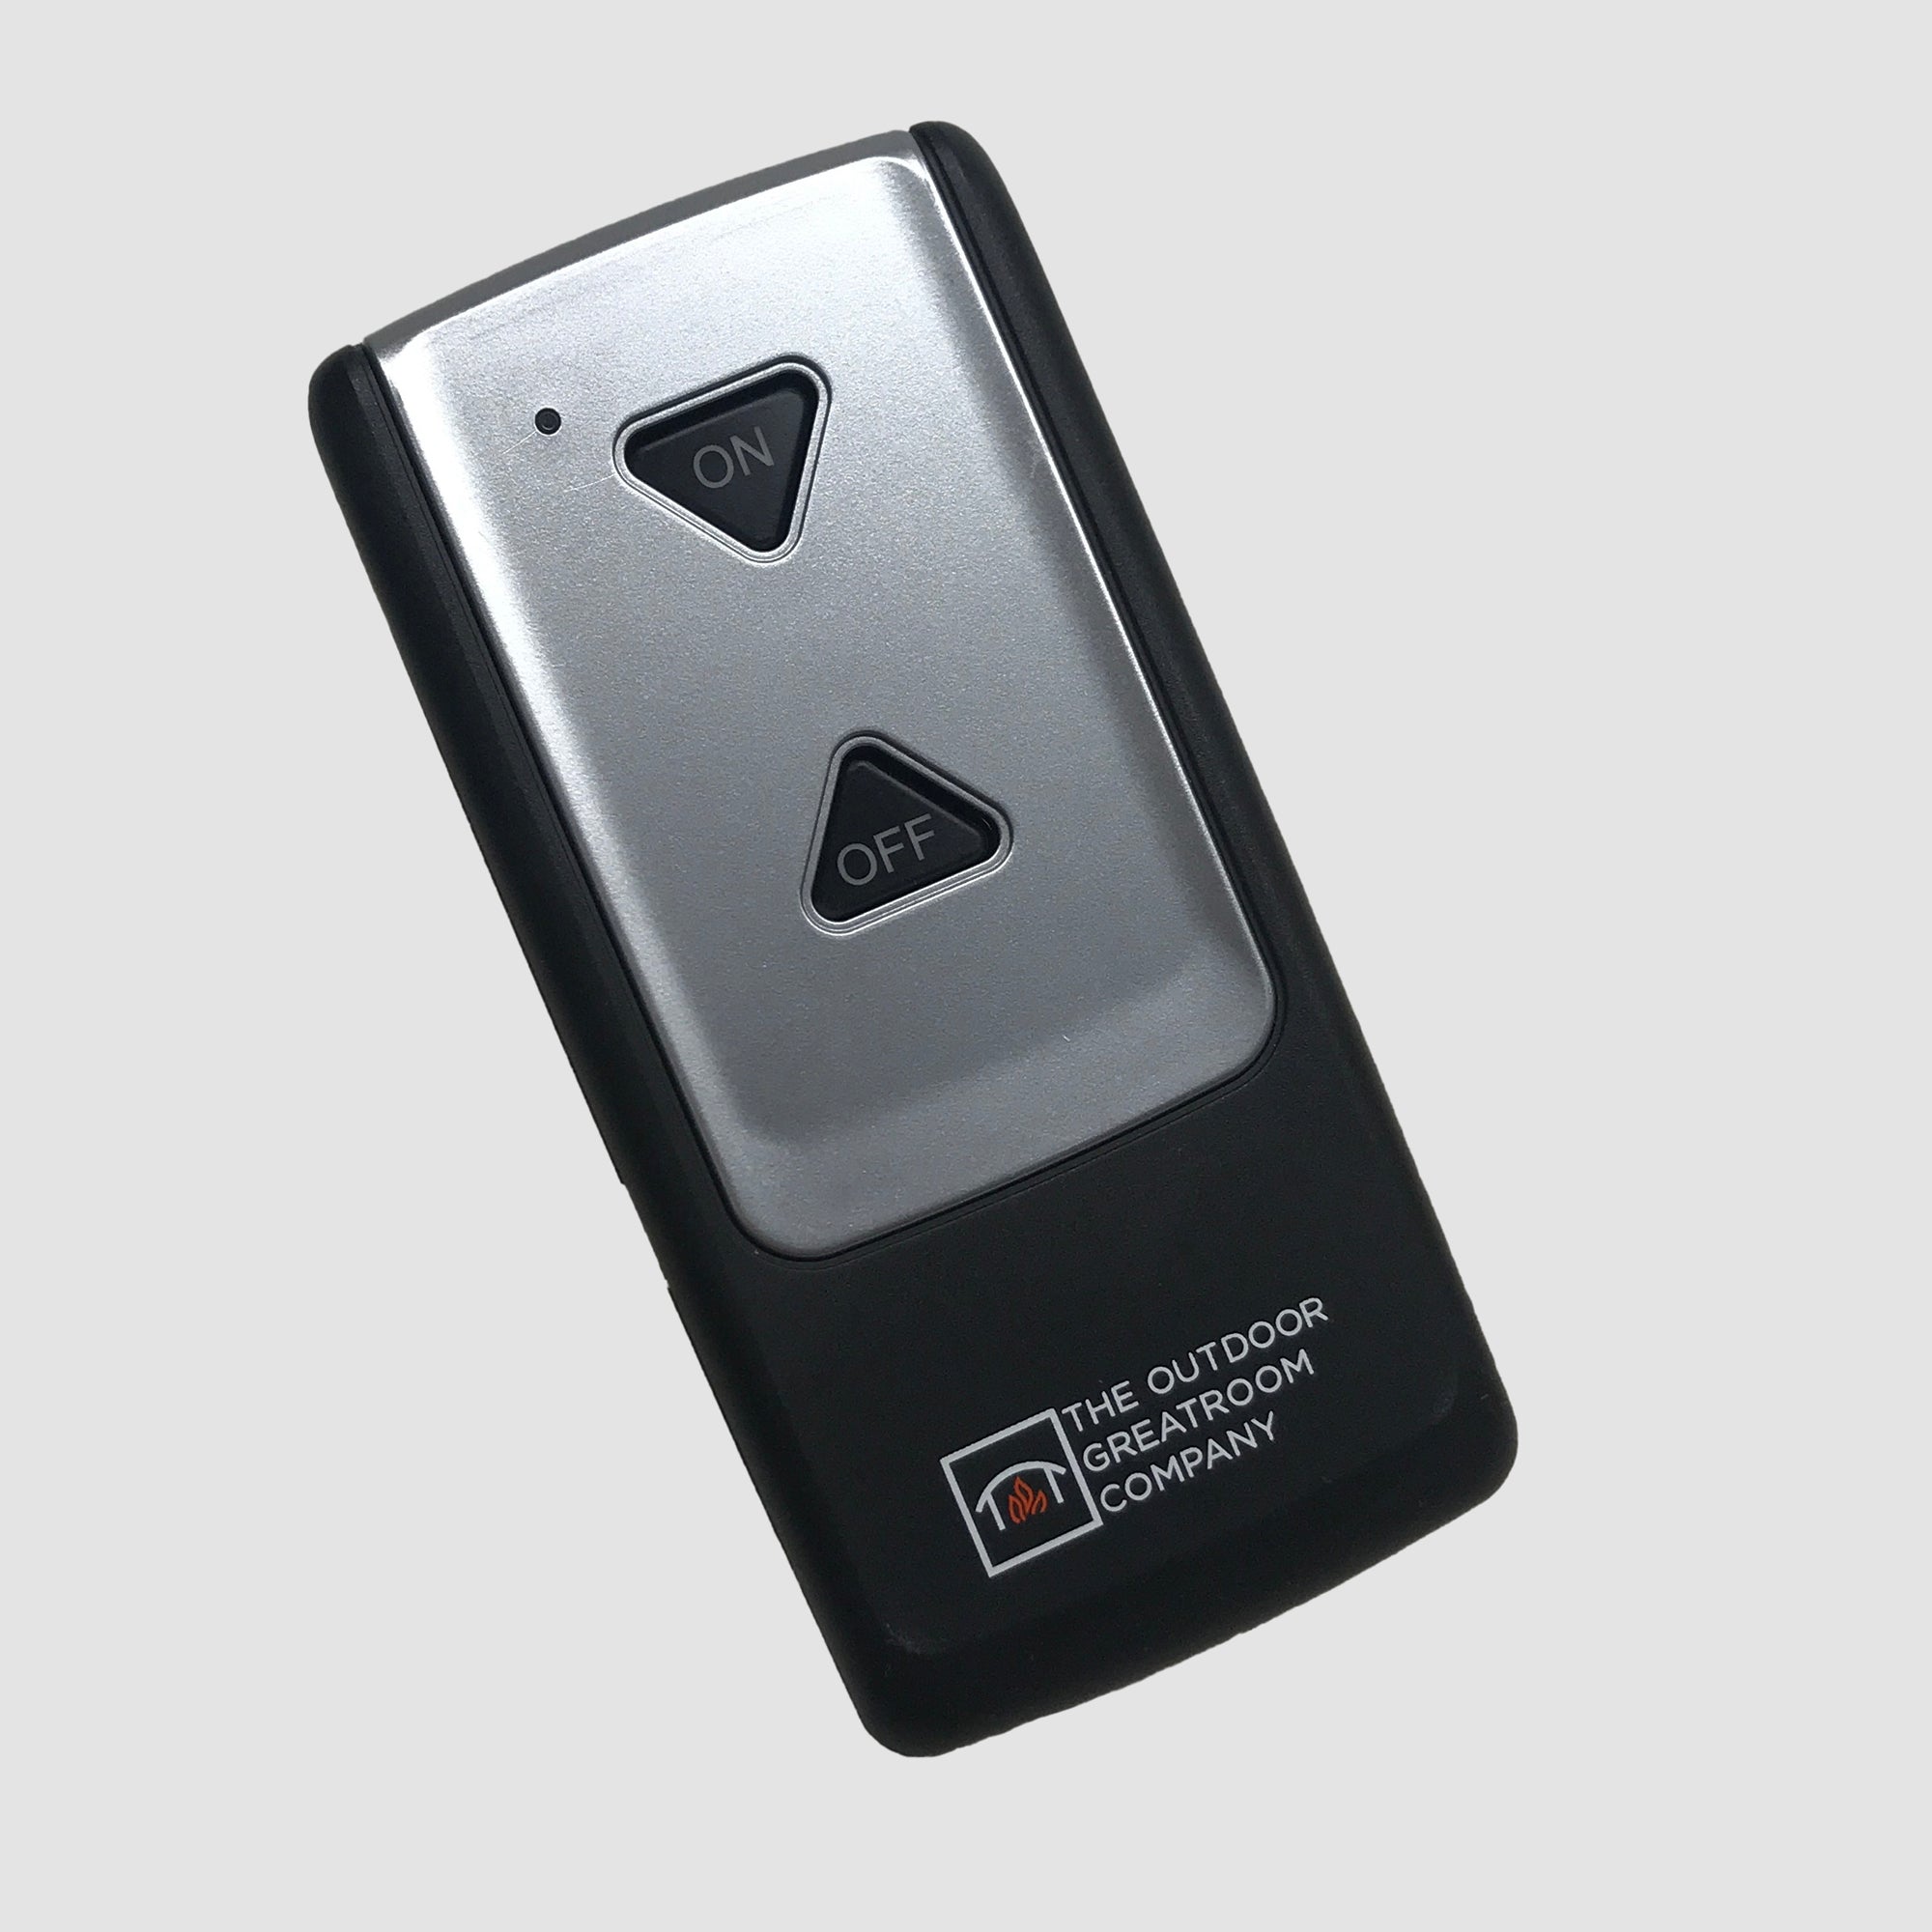
- One AAA Battery for burner ignition
- Vapor barrier (if building in grass or on pavers)
Tools needed for block assembly
- Level
- Shovel (if building in grass)
- Rake (if building in grass)
- Mallet
- Caulk gun
Tools needed for burner assembly
- 2 adjustable wrenches
- 7/16"wrench
- Power drill with Phillips bit
1. First, plan where you want to build your firepit and decide how you will supply gas to it. If you choose to run a natural gas line to the unit, be sure to have it installed by a certified gas technician before you begin. Check any city ordinances as well to ensure your new fire pit will be built to code.
2. If the firepit will be in the grass, mark a 40"diameter circle and remove all grass, sod, and roots. Then remove 2"of soil within the same area. Be sure to level the soil where your fire pit will be built and add between 1-2"of paver base. Pack the paver base and use a level throughout the process.
3. After the paver base is installed, install the vapor barrier*.
*You only need to do this if you're building your firepit in the grass. This will prevent moisture from coming up from the ground and protect the burner. The vapor barrier is not needed if you're building the fir pit on a concrete slab.
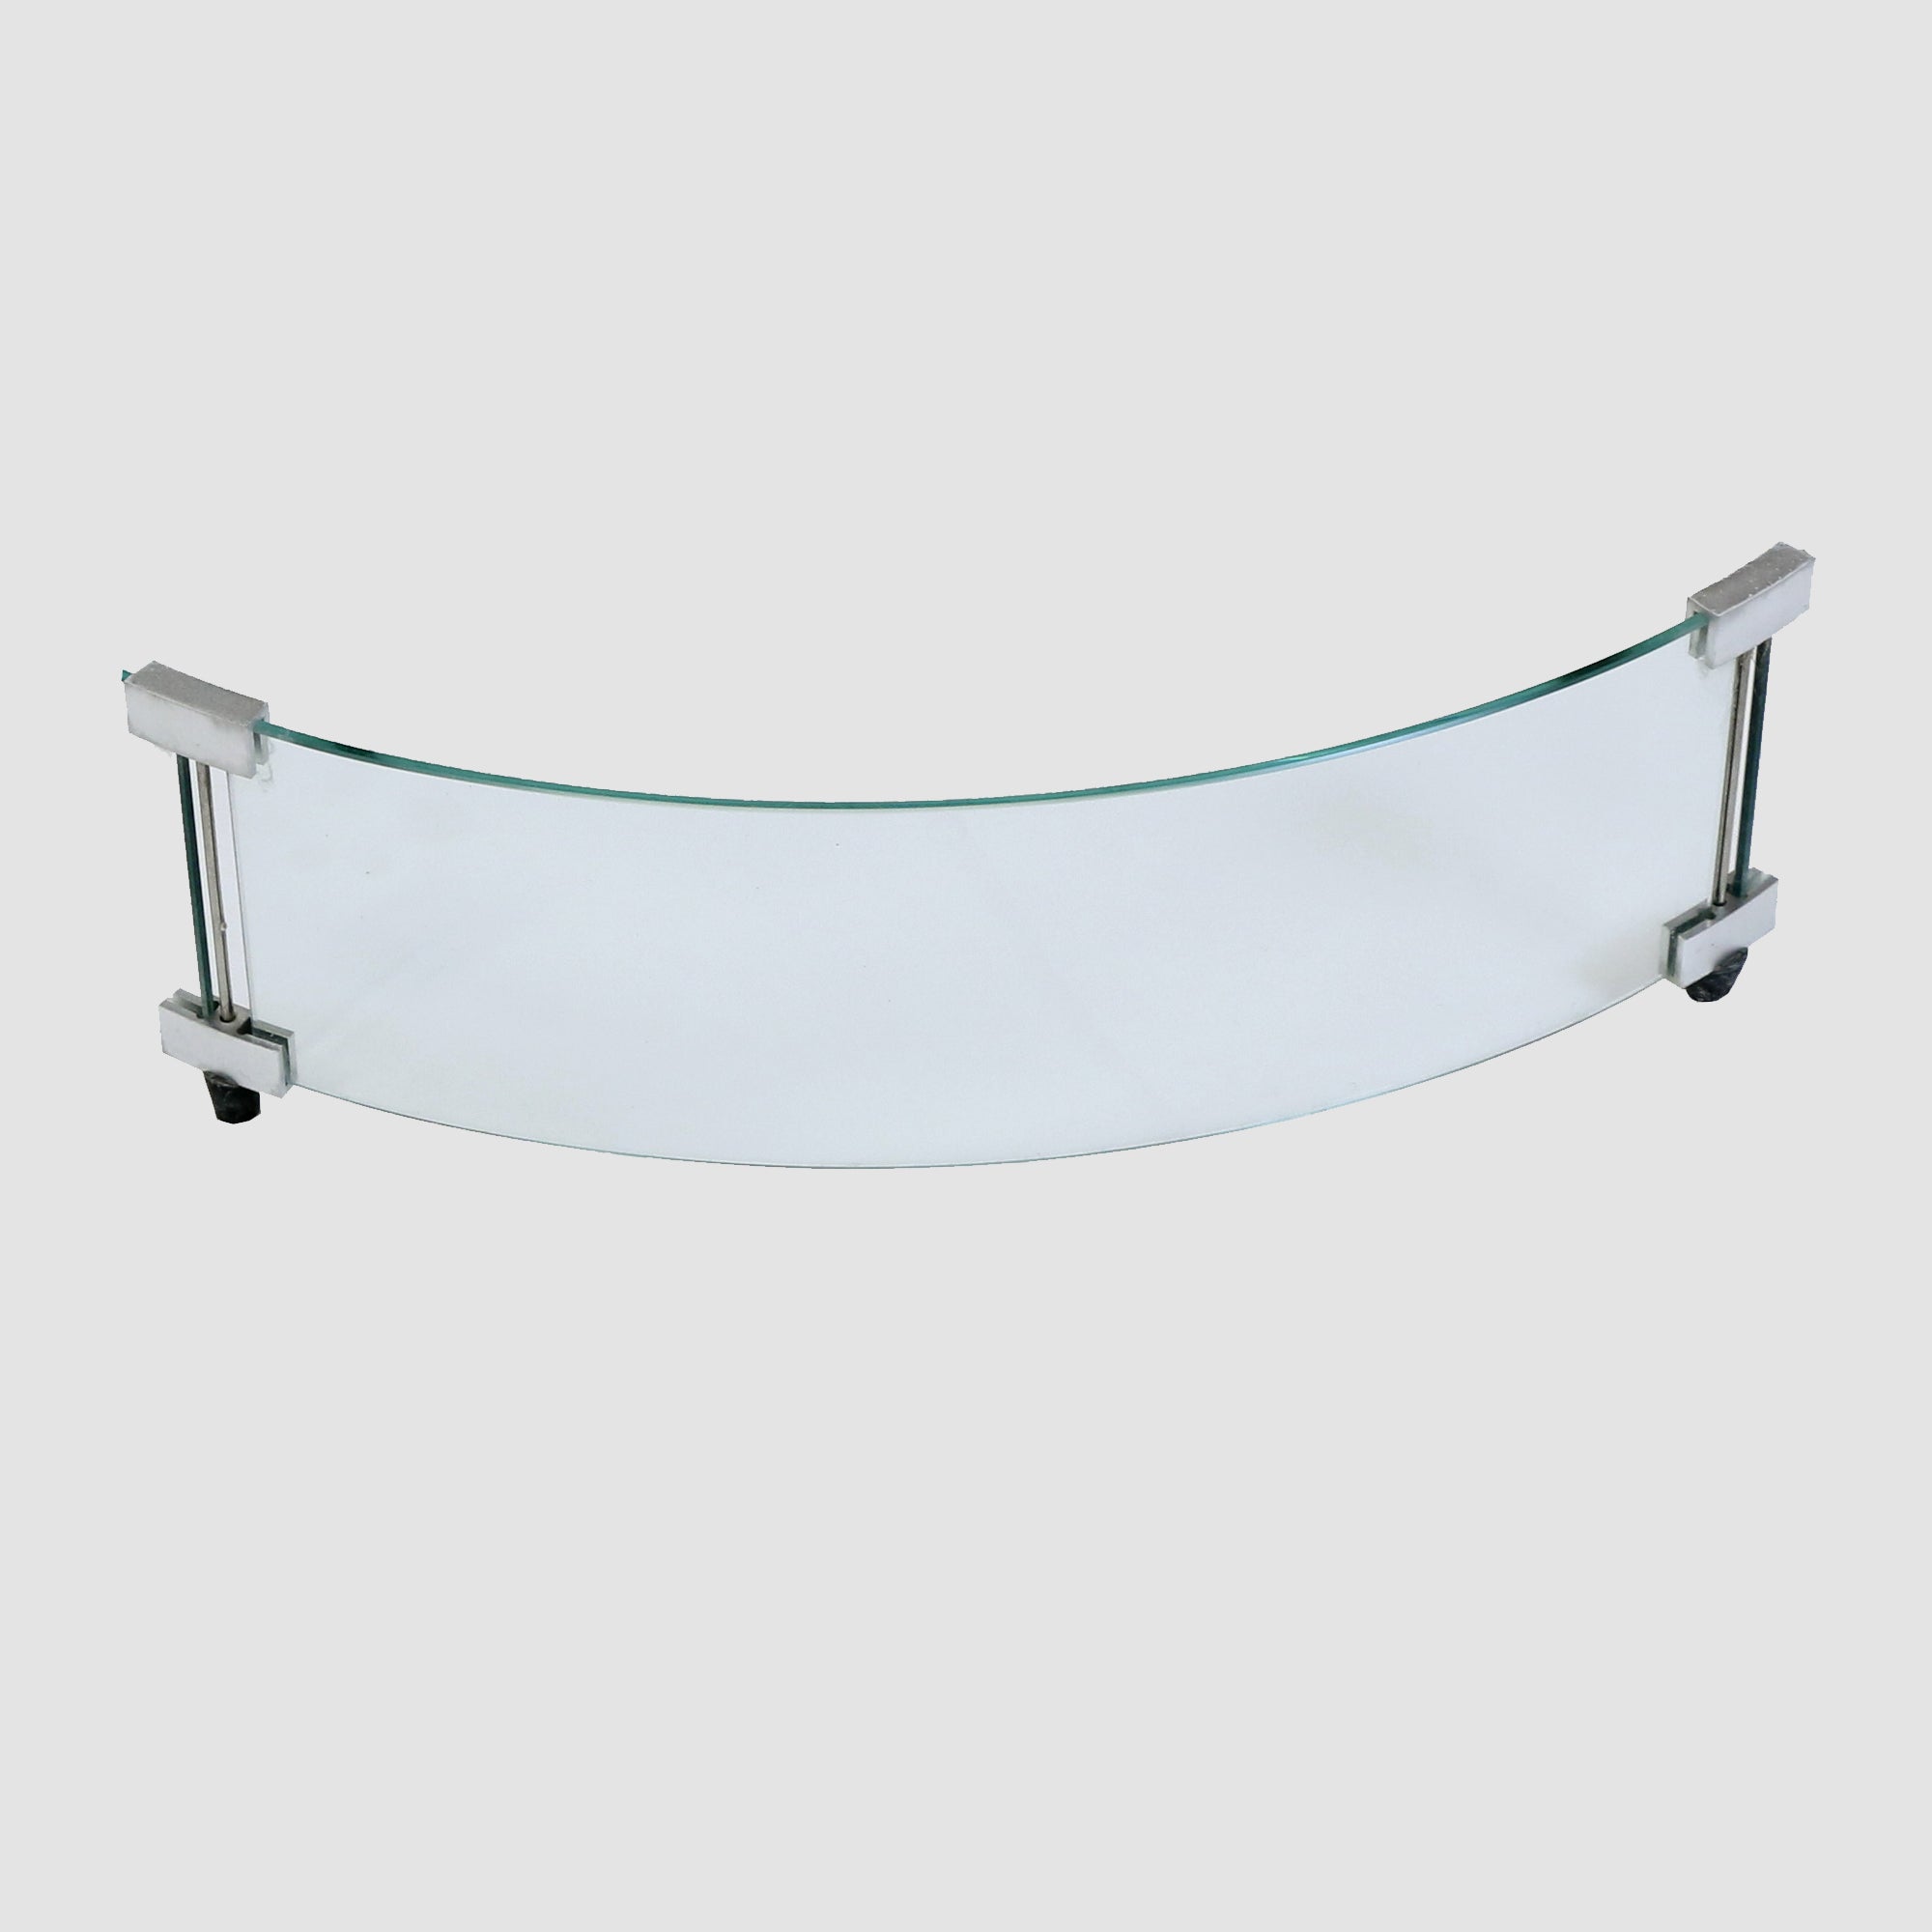
4. Next lay your first ring of hardscape block in a circle and use a rubber mallet to level them. We chose to use 4" tall tumbled radius pavers, but you can also use retaining wall block or something similar. We recommend an interior diameter of 32-37".
5. Place the next ring of blocks, leaving space for the control panel and vent block.
6. Once you have your concrete blocks spaced appropriately, carefully remove one block at a time and apply concrete adhesive. Place the block back on the ring and apply pressure. Repeat this process for each block.
7. Assemble your burner and place it on top of the block ring. Ensure there is at least 1" of overlap to secure the burner ring. Consult the burner manual for proper assembly instructions, clearance to combustible ratios, and gas connection instructions.
8. Lay the third layer of concrete block. Repeat the adhesive process from step 6.
9. Let the concrete adhesive cure. Add Lava Rock until the burner area is covered with approximately 2 inches of rock.
10. Light your new fire pit, sit back, relax, and enjoy!
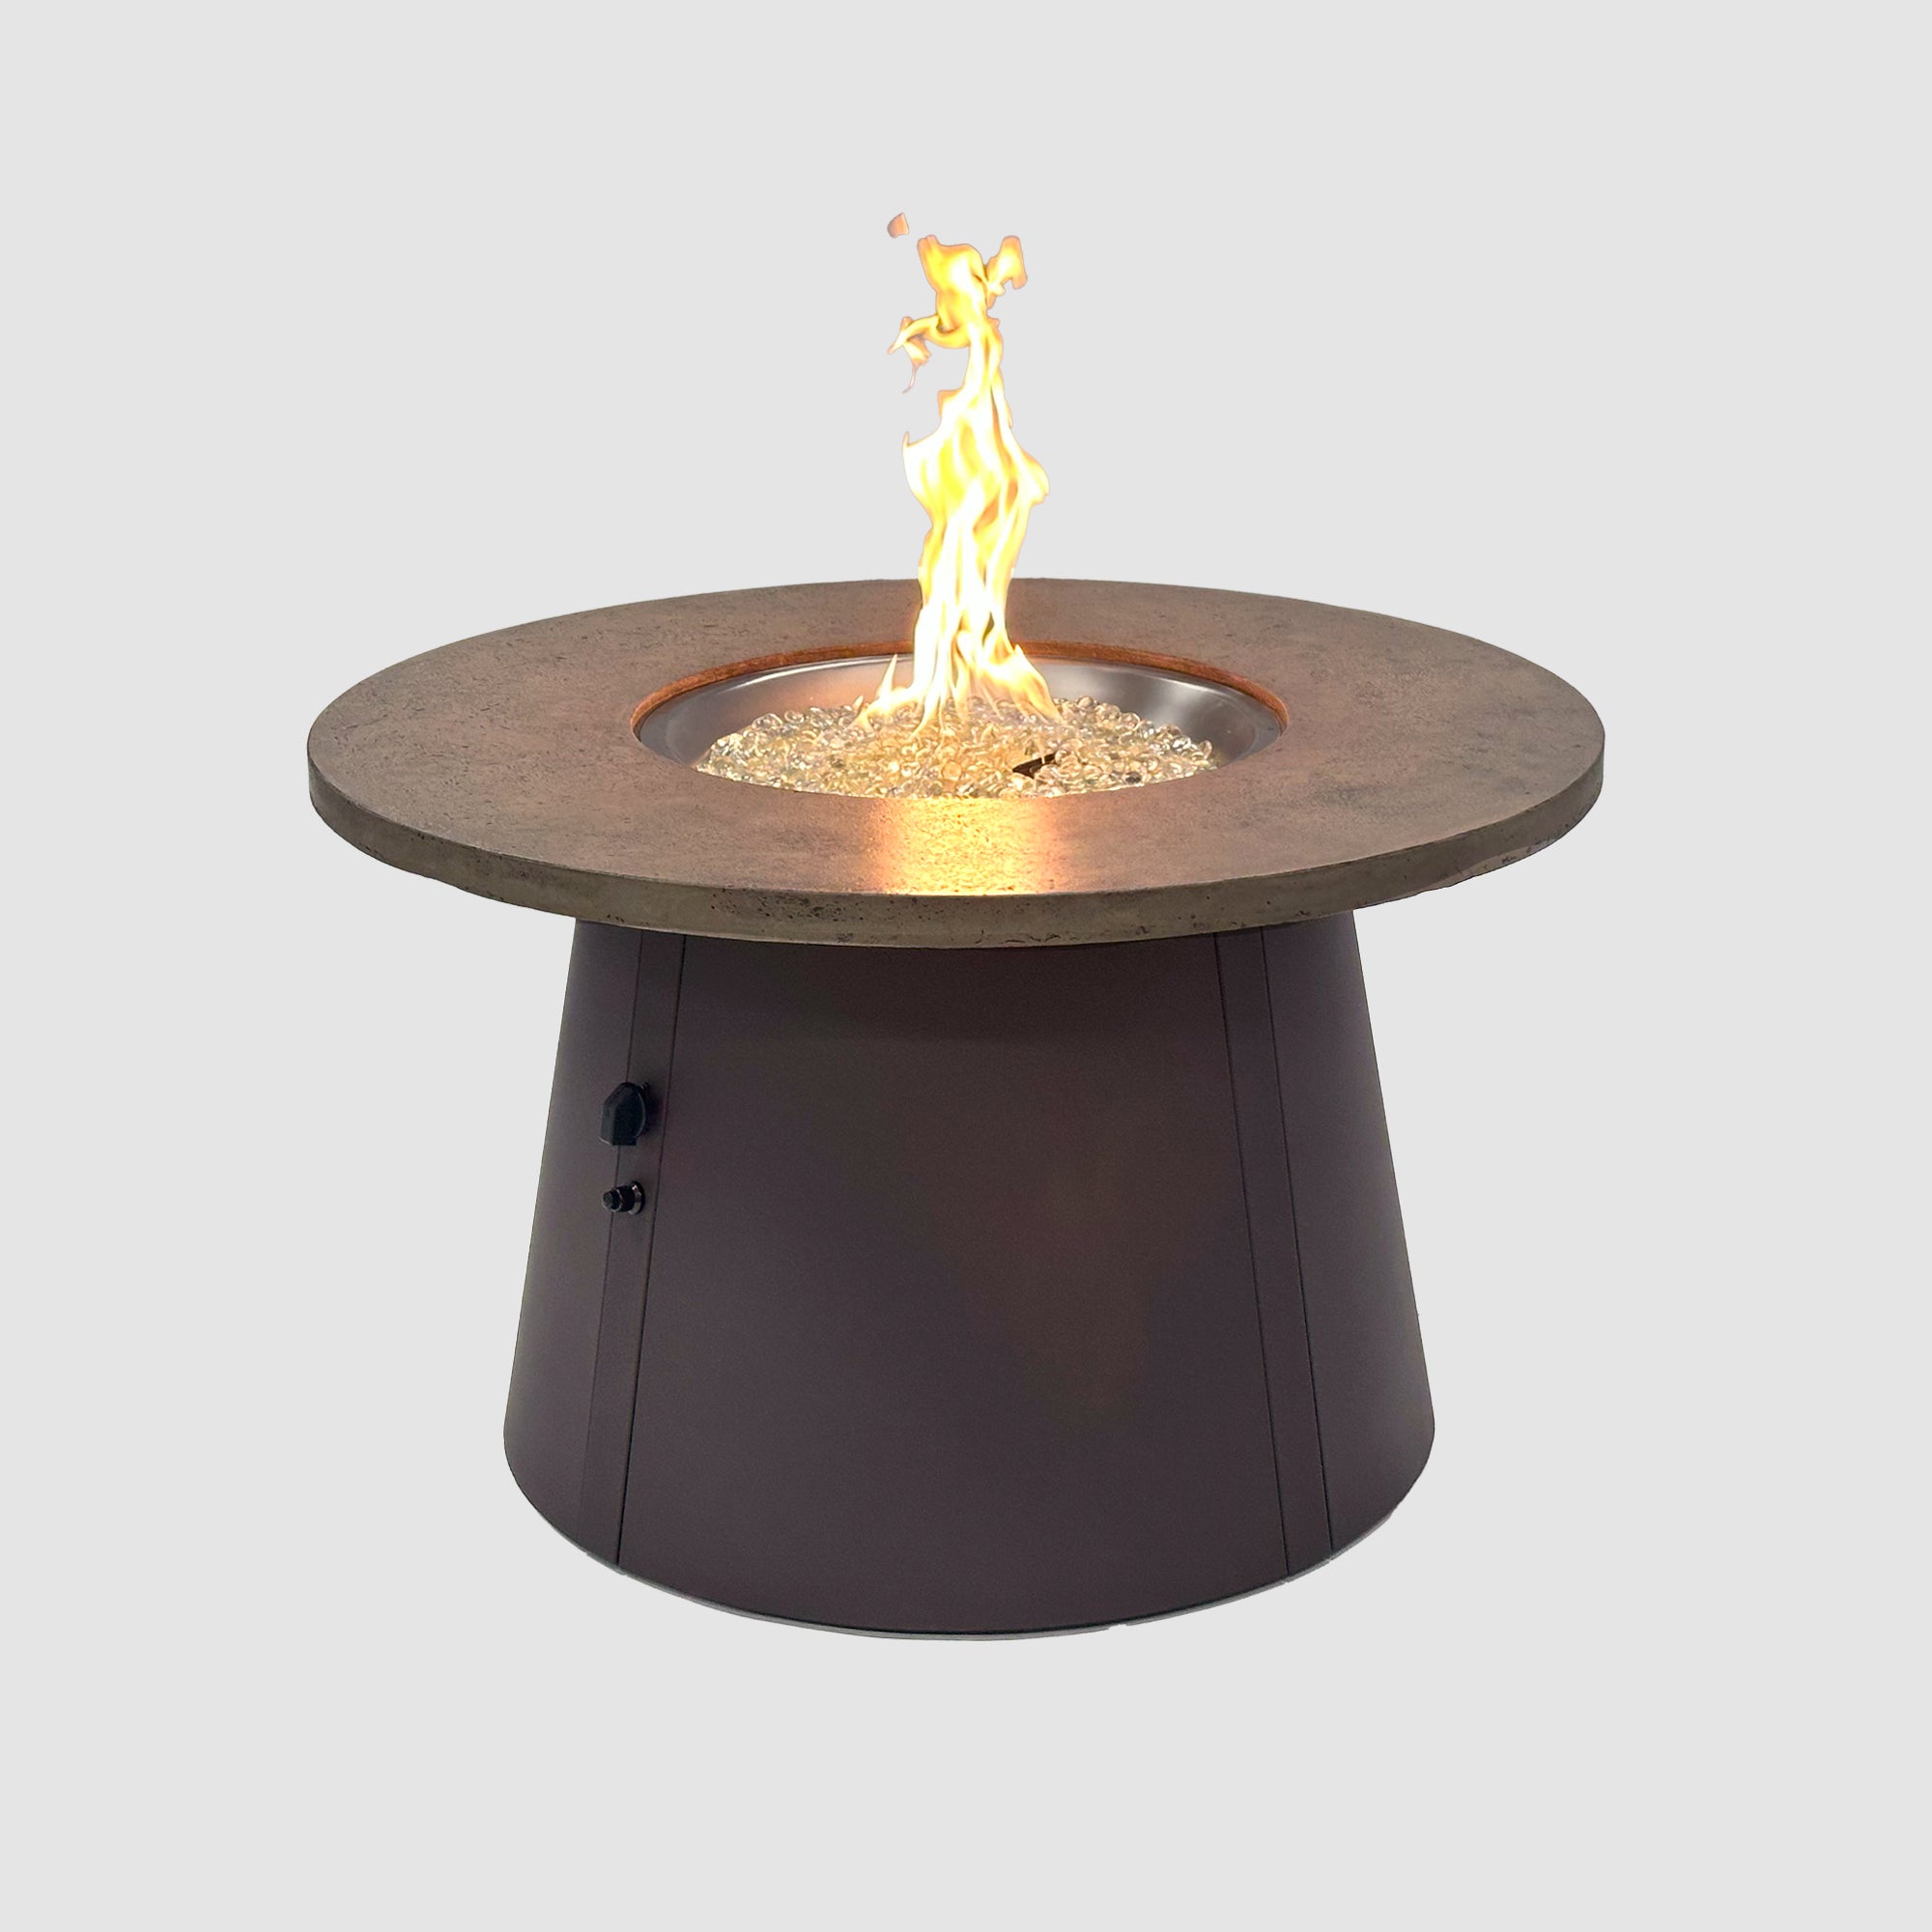
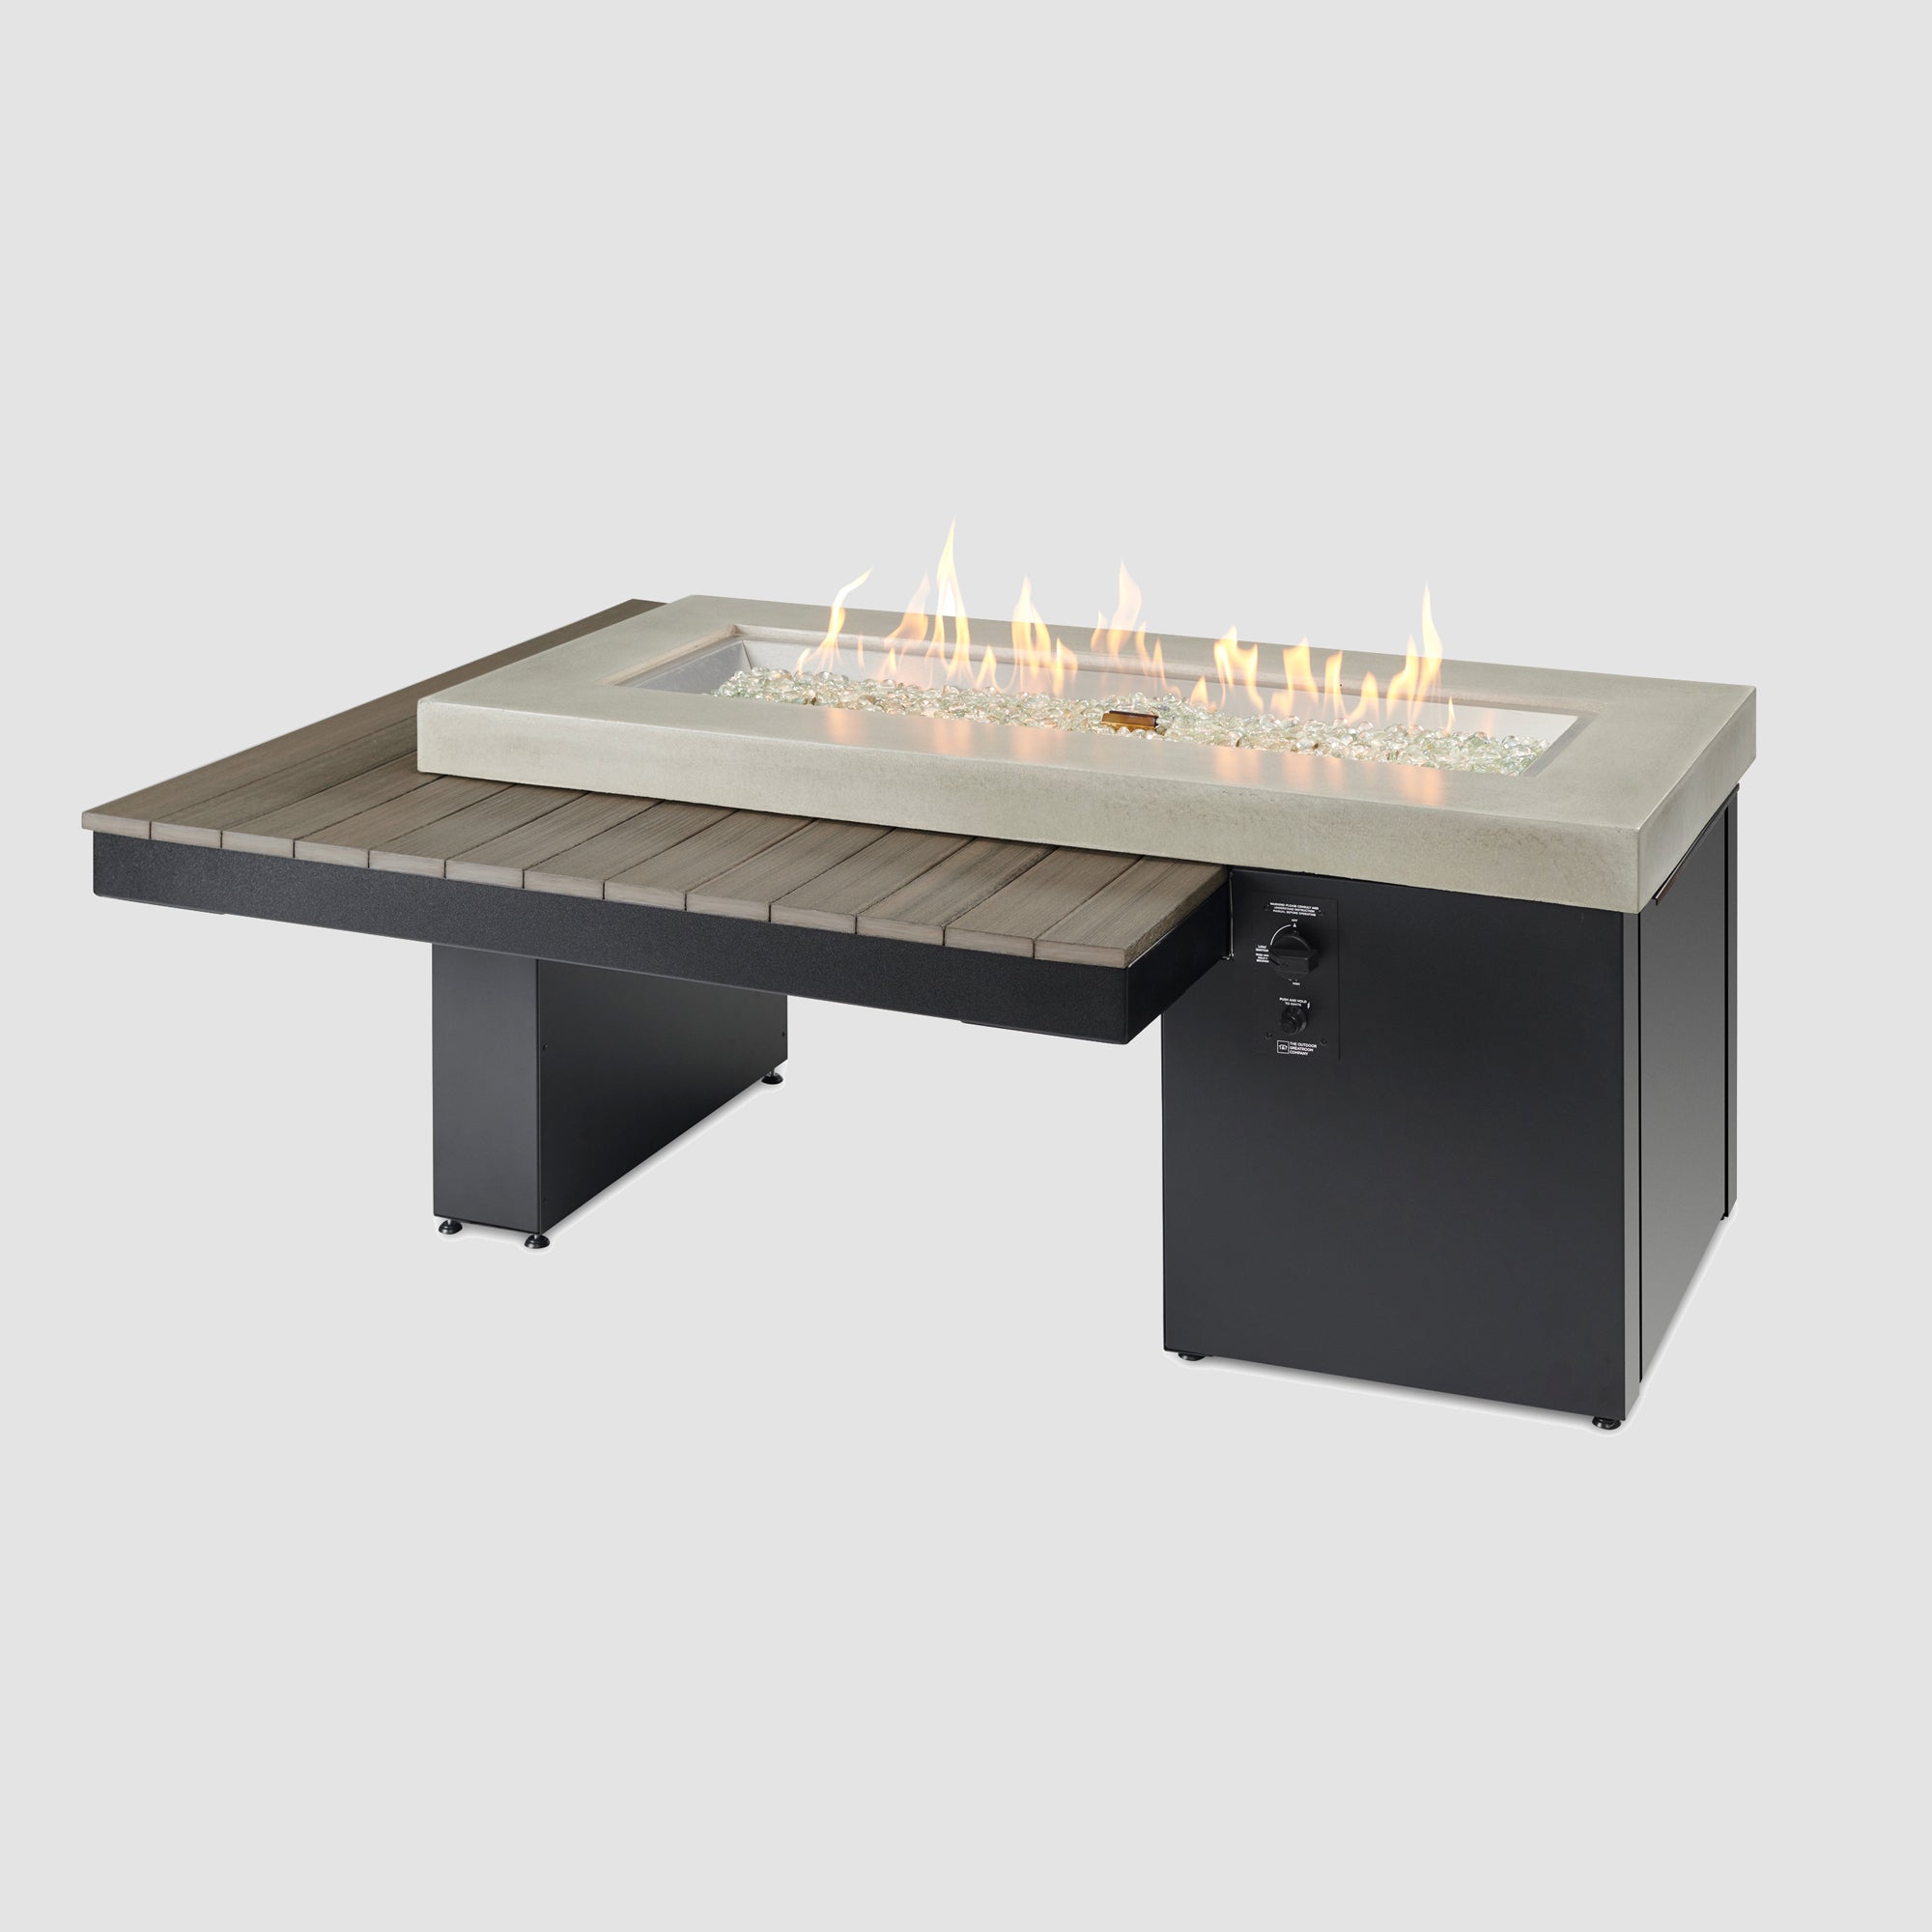
If you're looking to create a DIY firepit where all the parts and accessories are included, check out our Bronson Collection!

Available in Round and Square shapes, these unique gas firepits are made with paver blocks and include all the required parts and accessories. We even have this handy YouTube video that will walk you through a step-by-step building process.

Check out the Bronson Collection now or visit your local dealer for more information!